


African Savanna Polymer Clay Designs

In this two part tutorial I'll be showing you how to make three different zebra stripe polymer clay designs and then using them along with faux elephant skin to make an African Savanna polymer clay pendant and necklace.
The zebra stripe techniques range from silk screening, through Mokume Gane to caning, so this is a cool project for everyone, from beginner to the more advanced.
You will need the following supplies:
Part One:
- Black and white polymer clay
- A zebra silkscreen (I'm using the Wild Things silk screen by createalong.com)
- Black acrylic paint
- Credit card or similar
- A zebra stamp (I'm using the reverse zebra print from JessamaDesign)
- A tissue blade
- A pasta machine
- An acrylic roller
- A piercing pin or needle
Part Two:
-
Zebra cane
- Cherry pie soufflé
clay
- Black premo clay
- Sponge texture
- A ruler
- A tissue blade
- A pasta machine
- An acrylic roller
- Rectangle cutters - 2 different sizes (I'm using one from my small mica frills rectangle set and another one from my maxi half square set.)
- A skewer
- Renaissance wax
- Wet/dry sandpaper or polishing papers
- Premade rubber cord necklace
African Savanna Polymer Clay Designs - Part One - Creating the Zebra Stripes
Silk Screening- To start you’ll need a zebra stripe silk screen. I'll be using the Wild Things silk screen from Createalong.com
- Roll out a sheet of white polymer clay on the thickest setting of your pasta machine.
- Lay your silk screen over the clay, (orange side down if you are using a createalong stamp).
- Gently rub the silk screen onto the clay to stick it down.
- Lay a stripe of black paint at one end of your silk screen.
- Scrape it across the screen using your card.
- Use the card to remove excess paint and then use your finger to smooth the paint into all the gaps.
- Lift up the silk screen and wash it with water.
- Trim up your clay and put aside to dry.
- To start you’ll need a zebra stripe texture stamp. I'll be using the reverse Zebra print from JessamaDesign.
- Roll out a sheet of white polymer clay on the thickest setting of your pasta machine and trim to roughly the size of the stamp.
- Roll out a sheet of black polymer clay on the thinnest setting of your pasta machine.
- Gently lay the black clay over the white and smooth it out.
- Trim off the excess.
- Run through the thickest setting of the pasta machine.
- Spray the surface of your texture stamp with water.
- Lay the clay, black side down over the stamp and spray it with water.
- Use your fingertips to press the clay into the stamp, working from one side to the other.
- Gently remove your clay from the stamp.
- Dry the water from your clay and your work surface.
- Pat your clay, black side up onto the work surface so that it sticks.
- Shave off the raised black areas using your flexible tissue blade.
- Flatten the clay out by rolling in all directions with your acrylic roller.
- Scratch over the surface of the clay, all in one direction, using a needle tool or other sharp object to create the effect of fur.
- Gently go over the clay again with your roller.
- To start you’ll need a ball of black clay and a larger ball of white clay. You'll also need a picture of a zebra print to copy. You can find lots of them on the internet.
- Roll the black into a log.
- Take a segment of log and form it into a rectangle about 3mm thick.
- Pinch the clay so that it has variations in thickness to represent the zebra stripe.
- Repeat with more segments until you have enough for the zebra stripes. The pieces needn't all be the same thickness, or length, but they should all be the same width.
- Roll the white clay into a log about 1cm thick.
- Take a segment, pinch it into a rectangle and lay it next to your first black stripe.
- Repeat for all of the stripes. The white pieces should be longer and thicker than the black.
- As you put the pieces together fold the ends of the white pieces around the ends of the black pieces.
- Trim up your clay as you go. See the video for details.
- Compress the cane using your roller to get all the pieces together.
- Reduce your cane into a rectangular log.
- Slice off the ends to check how the cane looks. Trim off any distorted ends.
So that's three different zebra stripe polymer clay designs. In the video, I show a fourth method, so check that out.
African Savanna Polymer Clay Designs - Part Two - Making the Pendant
Creating the Elephant Skin- To start you’ll need a sheet of black polymer clay run through the pasta machine on the thickest setting.
- Texture the clay using a coarse sponge.
- Take a small piece of red clay. I am using Souffle Cherry pie today because souffle clay doesn't stick as easily as other brands. Run it through your pasta machine all the way down to the thinnest setting.
- Gently lay the red over the black.
- Use a small circle cutter and a ruler to cut four circles one cm apart. Press only gently enough to cut through the red.
- Remove the red sheet and you will be left with four red circles on your black clay.
- Use a needle tool to tidy up the circles.
- Use your blade to pick your sheet up from the tile and position it in front of you so that you can see easily to cut your rectangle out.
- Using a rectangular cutter, (I'm using one from my small mica frills rectangle set) cut a rectangle from your clay with your circles nicely centralized.
- Use your heatgun to set the piece quickly to avoid distortion later.
- Set this piece aside.
- Roll another sheet of black clay through your pasta machine at the thickest setting.
- Cut a thickish slice of your zebra cane and run it through your pasta machine on the thickest and then the medium settings on your pasta machine, all the way down to the second thinnest setting, rotating as you go so that the pattern is evenly stretched.
- Lay the zebra pattern over the black.
- Lay your elephant skin piece over the zebra pattern.
- Use a rectangular cutter, larger than your previous one, to cut a rectangle from your zebra stripe piece so that the zebra pattern forms a border around the black of the elephant skin. (I'm using a cutter from my maxi half square set.)
- Smooth around the edges using your fingertips. Set aside.
- Roll out a sheet of black clay on the middle setting of the pasta machine and texture it with the same sponge you used in the beginning.
- Use this clay to apply to the back of your piece as a backing.
- Cut around the edges using your blade and smooth off using your fingertips.
- Cut a thin strip of the black clay and wrap it around a skewer to create a bail.
- Cut off any excess clay and apply the bail to the back of your pendant.
- Bake for one hour at the recommended temperature.
- Finish off the edges using The Jessama Smear Technique and black clay.
- Bake again for another half an hour.
- When cooled, lightly sand the front, back and edges all the way up to the finest grits.
- Cover with a light layer of Renaissance Wax and buff using a soft cloth.
- Allow to cure for about 30 minutes before handling.
- String your ready made rubber cord necklace through your bail.
African Savanna Polymer Clay Designs - Part one
African Savanna Polymer Clay Designs - Part Two
please like and share!
Suggested links
- Wild Things silk screen
- Zebra Print Stamp
- Small Mica Frill Rectangle Cutters
- Maxi Half Square Cutters
- Texture sponge from 2wardspolymer clay
- Micro Circle Cutters
- Rubbercord necklace from Firemountaingems.com
- Jessama Smear Technique
If you need more information on reducing your canes, take a look at my reducing polymer clay canes tutorial, where I show how to reduce round, square, triangular and hexagonal canes correctly.
If I have missed something, or you still have questions, please leave a comment below.
You can like my Facebook page or join the Jessama Tutorials Polymer Clay Community on Facebook to stay up to date with more polymer clay tutorials like this one as they are released.
You may also like:


Become a Member

Join my Facebook Group

Find Me on Etsy

What's New?
-
Dry Clay Polymer Clay Crackle
 Today I'll be creating a mokume gane polymer clay crackle veneer using plain printing paper to dry out the clay. It's a soft, subtle effect that's easy to create and use across any project. Try differ…
 -
Heatgun Mokume Gane Polymer Clay Crackle
 Today I'll be creating a mokume gane polymer clay crackle veneer using a heatgun. This is a fun, subtle technique that can be used in a wide range of projects. Try different colors and different thick…
 -
Swellegant Polymer Clay Crackle
 Today I'll be creating a polymer clay crackle veneer using just swellegant and polymer clay. It's easy as long as you follow the tips I include in the tutorial. You can also do the same thing if you p…
 -
Colorful Kroma Polymer Clay Crackle: Resin or Varnish
 Today I'll be creating a polymer clay crackle veneer with kroma crackle and I'll go into details regarding how to achieve color and how varnish and resin will affect the finished result. The tests are…
 -
99% Alcohol Cane Polymer Clay Crackle
 Today I'll be creating a polymer clay crackle veneer using a cheat crackle cane we made in day 15. Keep in mind you can use any cane for this technique ranging from the simplest bulls eye to a complex…
 -
Mokume Gane Polymer Clay Crackle
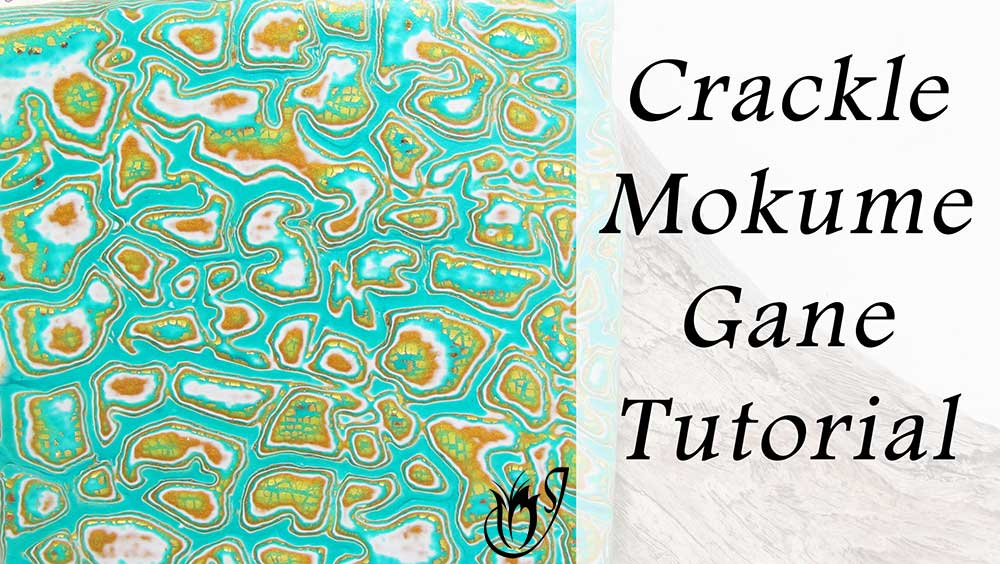 Today I'll be creating another cheat polymer clay crackle; this time a metal leaf mokume gane. This is a fun technique and although I use a crackle texture in the video, you can use any texture you wa…
 -
Antiqued Heatgun Polymer Clay Crackle
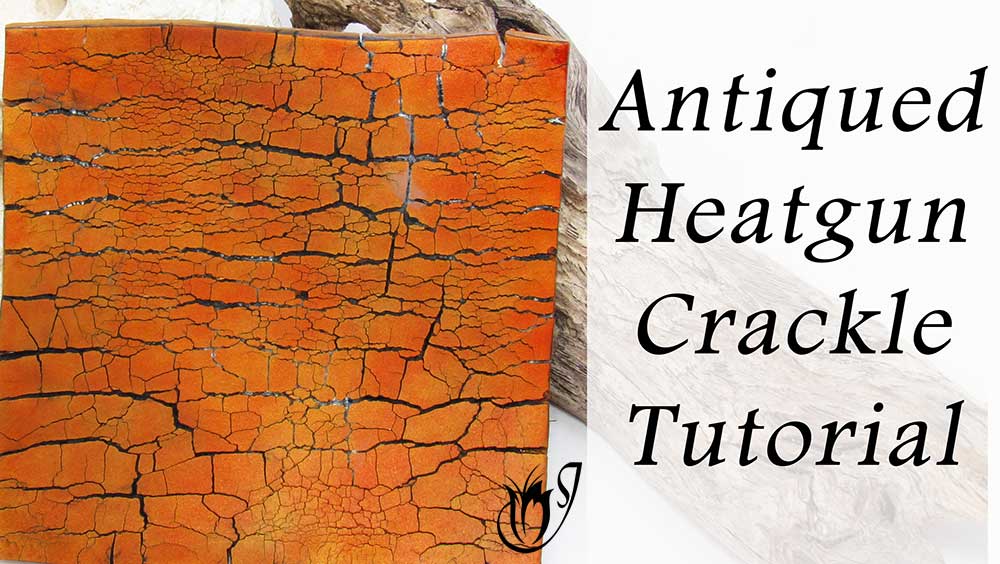 Today I'll be using a heatgun on some gold polymer clay to create a beautiful, rustic polymer clay crackle. We'll then mess around with some paint to antique the crevasse and finally we'll give it a b…
|
|
|
|
Facebook Group
Latest Posts
Tutorial Suggestions
QUESTIONS?
About Us
Contact Us
FAQ
LEGAL STUFF
Privacy Policy
Disclaimer
Disclosure


Copyright © 2018 All rights reserved
Copyright © 2018 All rights reserved
Please leave your comments below: