Queen of Hearts Polymer Clay Tutorial
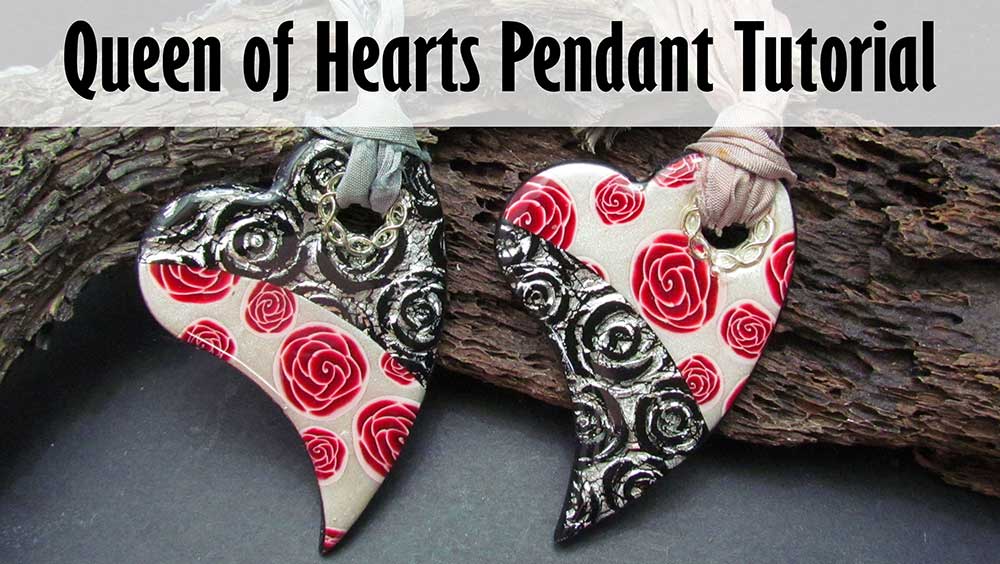
This Queen of Hearts polymer clay project will incorporate the rose cane we made last week, as well as a Lisa Pavelka
Peel with a rose texture stamp and silver leaf. It will all be tied together
with a silver ring for a hanging point and a coat of resin for a shiny finish.
This project can be done with any shape pendant and can even be made into a
collar or bracelet, so have fun and experiment with the techniques shown.
The link to the Rose Cane is in the suggested links box below the video.
You will need the following supplies:
- Rose cane
- Black and pearl white polymer clay
- Heart cutters (XL)
- A tissue blade
- A pasta machine
- An acrylic roller
- An oven
- Silver ring link
- Rose garden texture stamp
- Silver leaf
- Cornstarch
- A brush
- A craft blade
- Plain printing paper
- Polishing Papers
- Renaissance wax
- Buffing wheel
- Ice resin
- Sari ribbon
- Crimps
- Clasp
- Pliers
- Jumprings
Queen of Hearts Polymer Clay Pendant Tutorial Step by Step
- To start this polymer clay pendant tutorial you’ll need the Rose Cane from part one of this tutorial.
- You'll also need a conditioned sheet of pearl white polymer clay. The sheet should be rolled out on the thickest setting of your pasta machine and trimmed neatly.
- Reduce your rose cane to a good size for the pendant that you have chosen to make. I am using two different sizes. Trim up the ends.
- Use your tissue blade to cut slices from your canes.
- Place the slices onto your pearl white sheet, fairly close together, but not touching.
- Cover with plain paper and burnish with your fingertips. Then burnish with your acrylic rod to flatten the cane slices.
- Check that the surface is smooth, trim up and set aside.
- For the next veneer I'm using the Rose Garden Stamp from JessamaDesign. You can make your own stamp if you want to.
- Roll out a sheet of black Premo on the thickest setting.
- Cover with a sheet of silver leaf and trim off the edges.
- Dust the back of the clay with cornstarch, and press the clay, silver side down, into the stamp with your fingertips.
- Start from one side and work across to the other side. Gently roll over with your acrylic rod.
- Remove from the stamp and trim up your veneer.
- Cover with a piece of packing tape, burnish it on, and lift off some of the silver leaf.
- Make sure that your black veneer is still dusted with cornstarch and lay it on top of the heart cane veneer.
- Use a cutter of your choice and lay it over your veneers. I'm using one of the hearts from the XL hearts set #1 on JessamaDesign.
- Work out where you want to cut your veneers and remove the cutter. (See the video)
- Use your tissue blade to cut your veneers and separate them.
- Fit the Rose Garden and Rose Cane pieces back together.
- Roll up your leftover black clay with the metal leaf on it and then roll it through your pasta machine for a backing. Texture using the Rose Garden stamp and trim it up. Repeat with the leftovers to make a second backing.
- Spray and wipe down the clay to remove the cornstarch.
- Bring over your first pair of veneer pieces, lay them face down on a piece of paper, cover with the backing and trim.
- Press the clay pieces gently together.
- Use your cutter to make an outline on the clay.
- Place your metal ring in the place where you want to hang the pendant from, and press it in.
- Use a small round cutter, or your craft knife, to cut out the center from the metal ring.
- Reposition the cutter and cut out your pendant.
- Smooth the edges with your finger.
- Repeat for the second pendant.
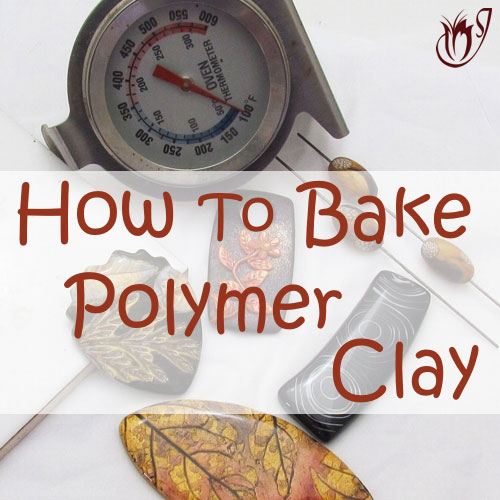
- Bake for an hour at the recommended temperature.
- Finish off the edges of your pendants using the Jessama Smear.
- Bake again for about 20 minutes.
- Sand the sides, back and front using your polishing papers or sandpaper, working from the lowest grit to the highest.
- Buff the back and sides using a soft cloth and renaissance wax or a rotary buffing tool if you have one. Don't get the wax on the front.
- Set aside to dry for about twenty five minutes.
- Cover each pendant with a coating of Ice Resin. Make sure to mix the two parts together well - at least five minutes. Leave to rest a while and then use a straw to blow over the resin and pop the bubbles. (See the video for application instructions.)
- Cut a length of Sari ribbon.
- Add a large crimp bead to either end and squeeze tight using your pliers.
- Fold the ribbon in half. Thread the loop through the hole in the pendant, then thread the ends of the ribbon through the loop to create a knot.
- Add a jumpring and one half of a clasp to each crimp bead.
- Repeat for your second pendant.
I hope you enjoyed that tutorial. If you try it out, please send photos!
Suggested links
- Rose Cane
- Heart Cutters (XL)
- Rose Garden Texture Stamp
- Lisa Pavelka Peel Tutorial
- Jessama Smear Technique
- Polishing Papers
- Micro Circle Cutters
- Resin Mat
- Ice Resin Plunger
If you are struggling with the Ice Resin, you can find a full Tips and
Techniques tutorial that walks you through the process on my Patreon community page or in my Etsy Shop.
If I have missed something, or you still have questions, please leave a comment below.
You can like my Facebook page or join the Jessama Tutorials Polymer Clay Community on Facebook to stay up to date with more polymer clay tutorials like this one as they are released.


Please leave your comments below: