You are here: Home >> Polymer Clay Tips > The Jessama Smear
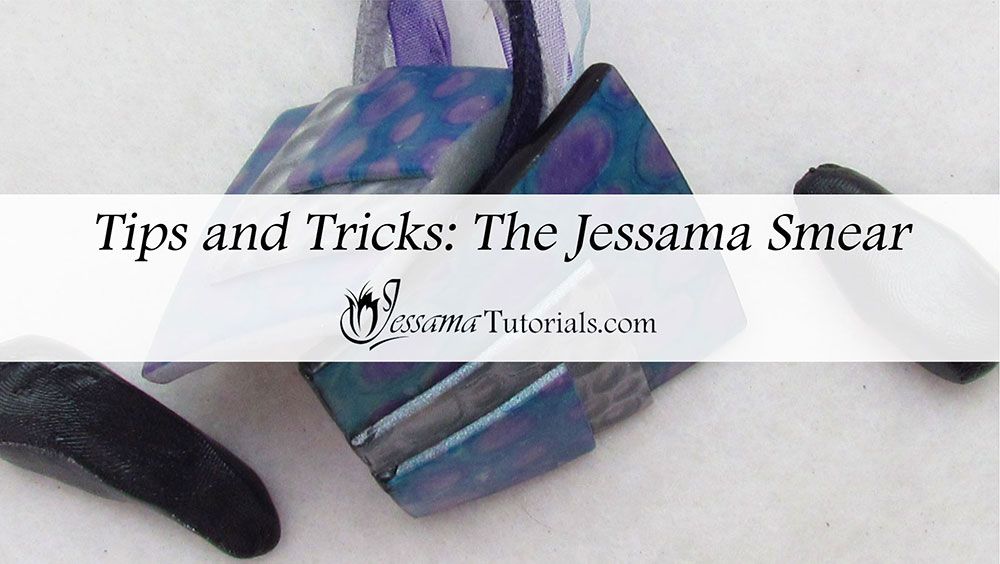
The Jessama Smear: Polymer Clay Tip
In this polymer clay tutorial I’ll
show you the
Jessama Smear technique for finishing off the sides of polymer clay pendants. It requires a bit of practice, but once you master it, it
will take your polymer clay projects to the next level.
There are a few tips and tricks to get it right, from how wet
your hands are, to how soft your clay is. It’s also very important to
smear on the right amount of clay. Too much won’t look good and too little won’t get the job done. I'll walk you through it, step by step in the video.
You will need the following supplies:
- Premo Black or Metallic polymer clay (I find these colors work the best, but feel free to try other colors)
- Translucent liquid clay
- A wet wipe
- A polymer clay pendant
How to Finish Your Polymer Clay Pendants Using the Jessama Smear
- To start you’ll need a soft piece of clay. Make sure it’s soft and slightly sticky. I always use Premo. If the clay is too hard it won’t stick to the side of your pendant and will simple peel away.
- To make your clay soft you can roll the small ball in your hand to warm it up. If this doesn’t work you can always add some translucent liquid clay to soften it up.
- Once your clay is nice and soft you can start smearing.
- Moisten your fingers with a wet wipe before you begin.
- Roll your clay into a small log and place one of the short ends along the side of your pendant.
- Now smear that log against the side of your pendant. You need to press as hard as you can to get the clay to stick and to smear away excess clay at the same time. Keep moistening and cleaning your fingers as you go to prevent the clay from sticking to your fingers.
- Do this the whole way around your pendant.
- Moisten your fingers again and gently wipe along the smears. This will smooth them out and get rid of finger prints.
- Spend a lot of time refining the smear. Wipe away bits that are hanging off the sides and make sure you don’t have any thick areas as the smear is supposed to be really thin.
If you don't get it right first time, don't worry. Keep practicing. It will be worth it.
You can like my Facebook page to stay up to date with more polymer clay tutorials like this one as they are released.
You may also like:
You are here: Home >> Polymer Clay Tips > The Jessama Smear


Please leave your comments below: