Rainbow Pendant Skinner Blend Tutorial
In this Skinner Blend
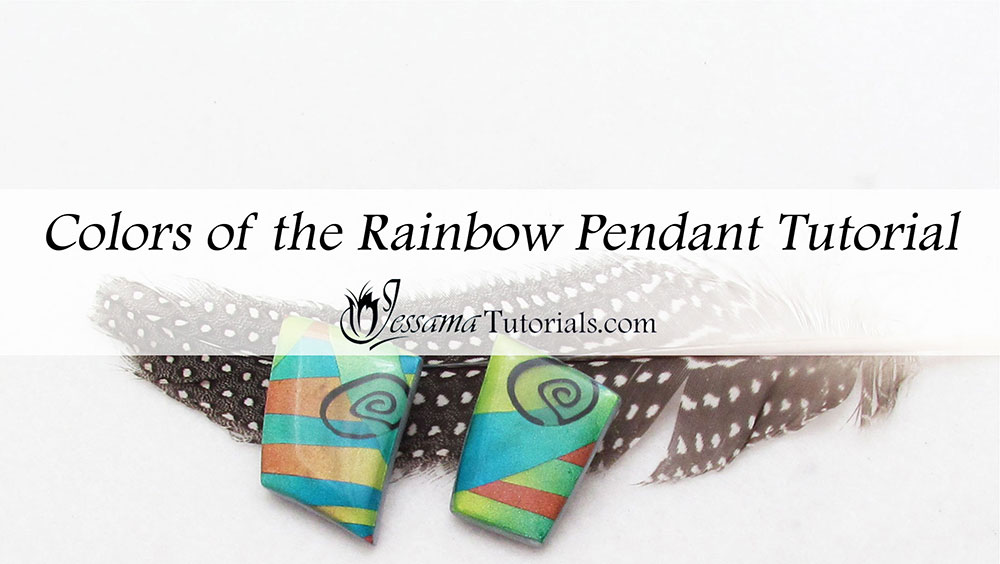
tutorial I’ll be showing you how to make my Colors of the Rainbow Pendant and necklace. It’s
a fun project that involves mainly Skinner Blends. It’s easy to make and a
great project for beginners to try.
I’ll also be showing
you how to give the backs a beautiful finish, how to add your own polymer clay
bail, and how to string the pendant on chain and ribbon entwined together to
create a simple, but elegant finish to the necklace.
This project if very
versatile. You can achieve different effects depending on what colors you use and how you put the Skinner Blends together. You could even replace the Skinner Blends with a
different polymer clay technique and create an entirely different pendant.
To complete this project you are going to need Skinner Blends and a Translucent Nautilus Cane. The links to the tutorials for these, as well as shape templates for the pendants, can be found in the box below the video.
You will need the following supplies:
- Premo Bright Green, Peacock Pearl, Bronze, Purple Pearl, Copper, 18k Gold, Silver and Black.
- A translucent Nautilus Cane
- Pasta machine
- A tissue blade
- An acrylic roller
- A ball of foil (I use this for texture, but any texture would work)
- Silver mica powder
- A skewer
- Sculpey Bake and Bond
- A craft knife
- Wet/dry sandpaper or polishing papers
- Ice resin
- A measuring cup
- A silicone waffle mat
- Renaissance wax
- White, light blue, brown and green ribbon
- Silver and antique copper chain
- 4 silver and 4 antique copper charlotte crimps
- 4 silver and 4 antique copper headpins
- 1 silver and 1 antique copper clasp
- 4 silver and 4 antique copper jumprings
- 2 silver and 2 antique copper cones
- A round nose plier
- A snip nose plier
- A flat nose plier
Colors of the Rainbow Skinner Blend Tutorial Step by Step
- First you need to prepare your polymer clay.
-
You'll need two Skinner Blends rolled out on the thickest setting of your pasta machine. I’ve got a Skinner Blend of Bright Green to Peacock Pearl and a second one of Bright Green to Bronze.
Check my Skinner Blend Tutorial for instructions if you haven't done the Skinner Blend technique before.
- Cut the skinner blends into long arching strips using your flexible tissue blade.
- Piece those strips together in any way you wish. You can have them going in any direction you want. See the video to see how I put them together.
- Now roll your sheet flat using your acrylic roller. This is important as the Skinner Blend pieces need to be well bonded together.
- Roll the sheet though your pasta machine on the fifth setting.
- You can leave the veneer like this and cut out a pendant, but I wanted to put a translucent nautilus cane on the sheet. I place the pieces far apart as I only want one per pendant.
- Roll in both directions with your acrylic roller to flatten it.
- Roughly cut the shape of your pendant from your sheet.
- Use the shape templates provided to adjust the shape until you are happy with it.
- Put your pendant polymer clay to the side.
- Take a piece of black Premo and roll it out to the third thinnest setting. Texture with any texture. I chose to use a piece of scrunched up foil.
- Take some silver mica powder and gently rub over the surface of the texture.
- Flip the black so that the mica side is facing down and place your Skinner Blend piece over the top. Gently tap to get good contact.
- Trim away the excess black clay and neaten the edges.
- Take another piece of black Premo and roll it out on the third thinnest setting of your pasta machine.
- Cut a smallish piece about a cm wide and wrap around a skewer. Only wrap once. Trim away the rest so that you now have a nice round bail.
- Smooth the seam and place the bail seam side down onto the back of your pendant with the skewer inside.
- Squeeze a little Bake and Bond around the base of the bail to give it extra strength.
- Bake at the recommended temperature for an hour.
- Let the pendant cool.
- Remove the skewers from the bails.
- Now sand the front of your pendants until they have a light sheen to them.
- Using the Jessama Smear, smear silver clay along the sides of the pendants. Make sure to spend enough time tidying them.
- Bake again at the recommend temperature for half an hour.
- Resin the fronts and let them cure for 24 hours. See the video tutorial for more information.
- Check if the sides need to be sanded and then buff the sides and back with a light coating of renaissance wax. Be careful not to get the wax on the resin.
- Now you can string the beads. I intertwine copper chain, green and brown ribbon together for the necklace, but you can use any stringing method you want. See the video tutorial for more information.
In the video tutorial I show another variation using a different set of Skinner Blends, so be sure to check that out.
Suggested links
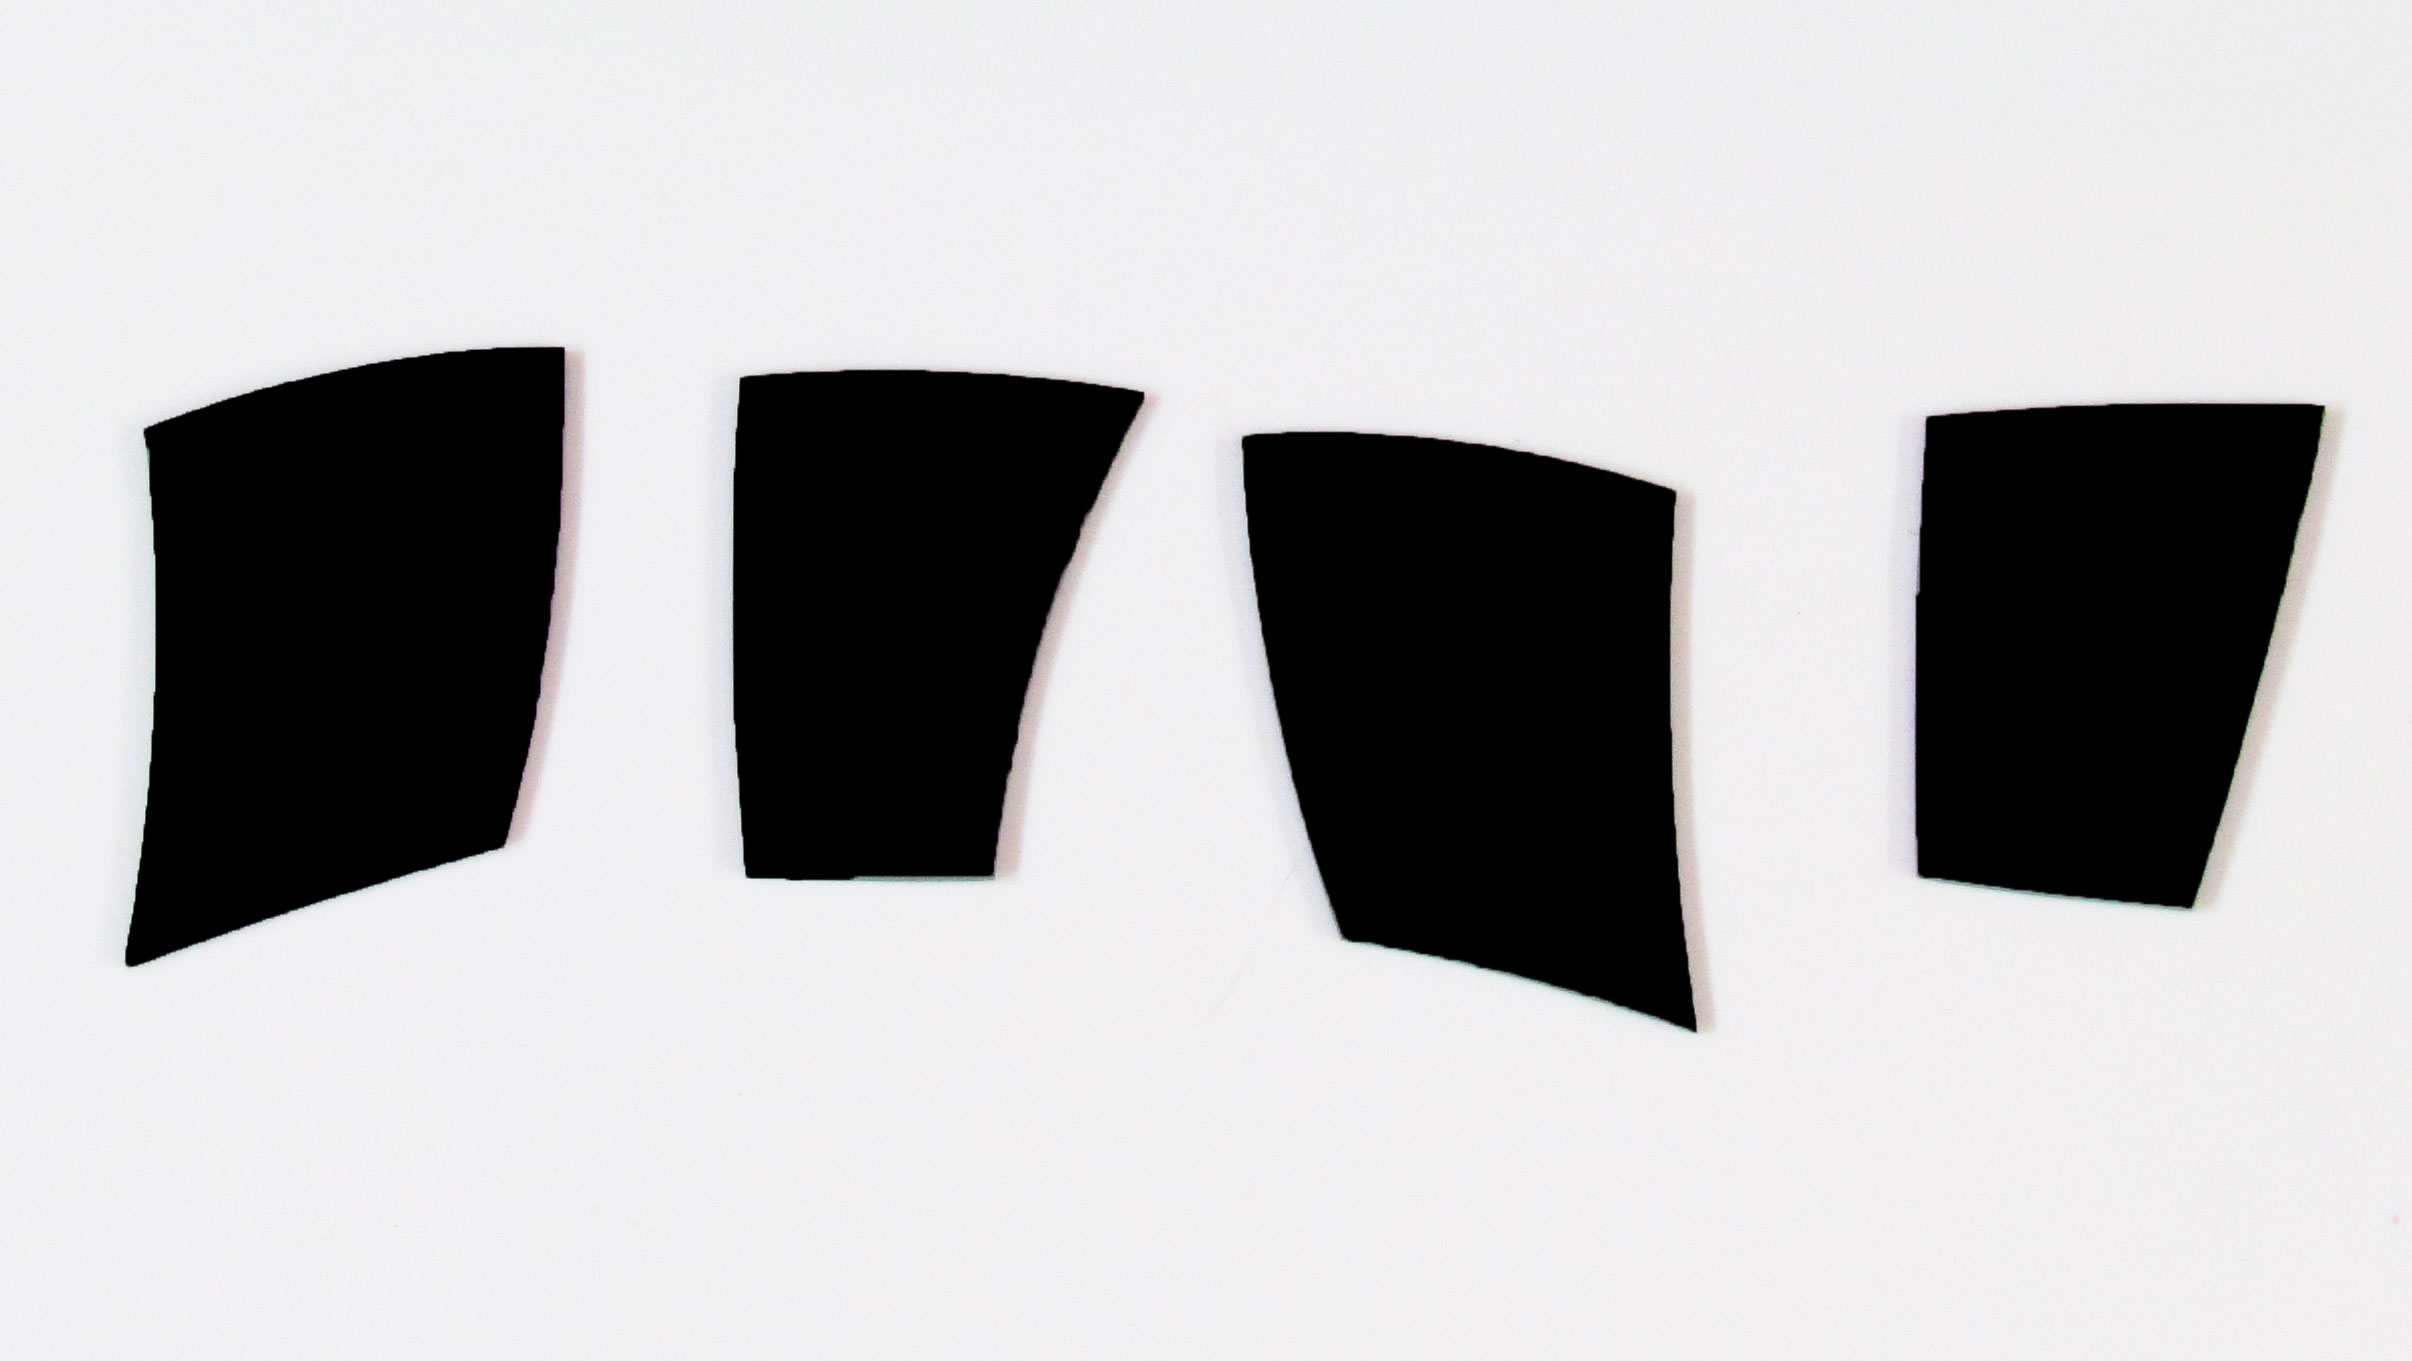
- Right-click on the image.
- Select "copy image".
- Paste into a blank Word document.
- Print and cut out the shapes.
- Two Part Skinner Blend Tutorial
- Translucent Nautilus Cane Tutorial
- More Information on How to do the Jessama Smear
supplies
If you are struggling with the Ice Resin, you can find a full Tips and Techniques tutorial that walks you through the process on my Patreon community page or in my Etsy Shop.
If I have missed something, or you still have questions, please leave a comment below.
You can like my Facebook page or join the Jessama Tutorials Polymer Clay Community on Facebook to stay up to date with more polymer clay tutorials like this one as they are released.


Please leave your comments below: