You are here: Home >> Polymer Clay Home Decor > Faux Abalone Bowl
Faux Abalone Polymer Clay Bowl Tutorial
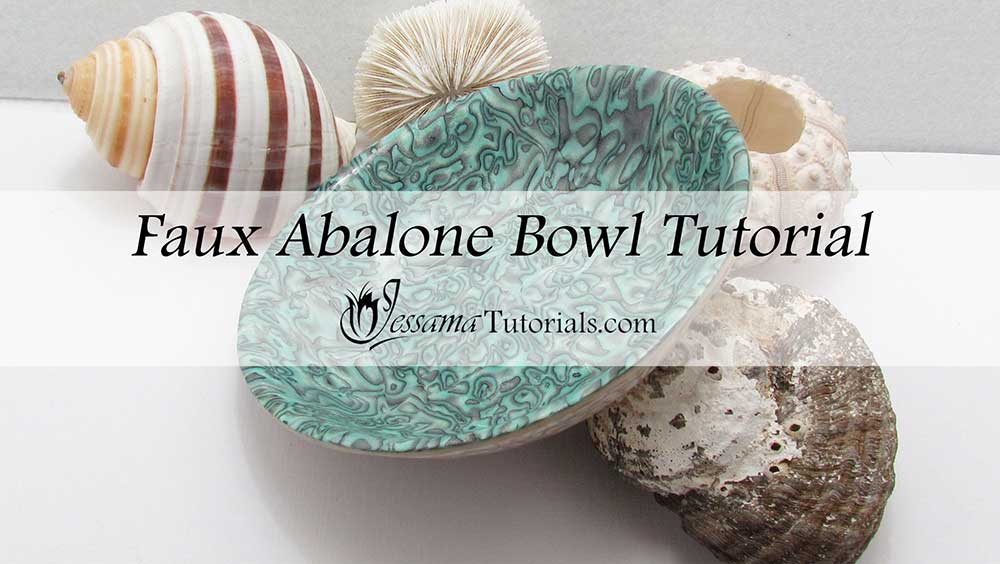
In this tutorial I’ll show you how to create Faux Abalone with polymer clay.
It’s a technique that can be manipulated to create many other faux shells which
I’ll be showing in future.
Today I’ll show you how to create a bowl, but you can
use the effect on pendants, collars, bracelets and many other projects.
You will need the following supplies:
- Black, Pearl White, Silver, Turquoise, Green Kato polymer clay
- A tissue blade
- A pasta machine
- An acrylic roller
- An oven
- A craft knife
- Ball tools
- A bowl
- Sanding paper
- Translucent liquid kato
- A heatgun
- A simple slicer (Optional)
- Plain printing paper
How to Make The Faux Abalone Polymer Clay Bowl Step by Step
Color Recipes:- 6 pearl white, 1 green
- 6 pearl white, 1 turquoise
- To start you’ll need a Skinner Blend starting with the blue blend, then pearl white, then the green blend and finally the silver.
- Once you have the Skinner Blend run it through your pasta machine to lengthen it, then turn that into a Skinner Blend plug that is 2.5 cm high.
- Place a 2mm thick sheet of black on the top silver side of that Skinner Blend plug.
- Reduce down using your acrylic roller and roll out on the pasta machine to a 2mm sheet. Trim up the edges.
- Stack that sheet 3 times and roll down to a 2mm sheet. Trim up the edges.
- Stack 4 more times, gently pressing each layer out of shape with your fingers or ball tools to distort the pattern. Press the layers together to eliminate air bubbles.
- Press it all together into a plug of 1cm to 1.5 cm high. Make sure it is well stuck to your tile and slice.
- You should now have some lovely faux abalone slices. You can use these to create pendants, collars, bracelets, bowls, vases, coasters and much more. Today I’ll create a bowl.
- Start out by placing your thin pieces of abalone together to create a sheet. Burnish smooth with an acrylic roller over a plain piece of paper.
- Place an 8mm thick backing of pearl white behind the abalone and burnish again.
- Take your bowl that you’ve chosen and place your sheet inside it (abalone side up.)
- Smooth it down to remove trapped air bubbles. Trim away the excess along the sides and smooth again.
- Bake this at your brands recommended temperature for an hour.
- When the bowl has cooled, gently release the clay and remove.
- Turn the clay bowl upside down and gently scrape along the rim using your craft knife to remove any straggly bits.
- Now roll out a sheet of pearl white and cut it into strips. Twist these strips and roll each strip into a nautilus shape. Place the nautilus onto your bowl’s back and continue until the back is covered.
- Once covered, press on the nautilus to flatten them. This will create a mica shift. Smooth off the back and remove any excess.
- Smooth around the rim with your fingertips.
- Bake again at your brands recommended temperature for an hour.
- Once cool sand the bowl.
- You can choose at this point if you want to use a coating and if so which one you want to use.
- I chose to use liquid clay. See my Patreon tutorial to see how I used liquid clay to coat my bowl.
Suggested Links
- 3 Part Skinner Blend Tutorial
- Skinner Blend Plug Tutorial
- Liquid Clay Tutorial on Patreon
- Enchanted Leaf Bowl Tutorial
- Mica Shift Tutorial
- Tiny Pandora Deep Shine
If I have missed something, or you still have questions, please leave a comment below.
Please Note: The Simple Slicer has been discontinued.
You can like my Facebook page or join the Jessama Tutorials Polymer Clay Community on Facebook to stay up to date with more polymer clay tutorials like this one as they are released.
You may also like:
You are here: Home >> Polymer Clay Home Decor > Faux Abalone Bowl


Please leave your comments below: