


Polymer Clay Faux Lapis Lazuli Tutorial

This Gold-Flecked Faux Lapis Lazuli tutorial is based around a fun and easy faux polymer clay technique, which In combination with other methods, can be used to imitate many beautiful gemstones.
As with most gemstones, Lapis Lazuli is found in many different shapes and forms. Depending on the quality and cut, colors can range from a dark denim to a deep royal blue. Some stones have flecks of gold while others have predominant translucent striations. Still others appear almost like blue marble. The Gold-Flecked version I show in this tutorial is just one of the many beautiful variations.
You will need the following supplies:
- Kato Blue, Purple, White, Black and Translucent
- Premo Translucent (optional)
- Gold leaf
- A grater
- A tissue blade
- An acrylic roller
- A pasta machine
How to Make Polymer Clay Faux Lapis Lazuli
-
The first step is to mix up your colors. This is optional. You could just use ready-made blues of various brands straight from the packets, but I find that mixing up these more exact representations produces better results.
For these polymer clay color recipes you will need the Kato colors and Translucent as specified in the supplies list.
Faux Lapis Lazuli Color Recipes:- Evening Blue - 4 Blue, 1 Purple, 2 Translucent
- Morning Blue - 8 Blue, 1 Purple, 1 White, 4 Translucent
- Sky Blue - 5 Blue, 1 Purple, 7 White, 5 Translucent
- Midnight Blue - 6 Blue, 1 Purple, 1 Black, 4 Translucent
Set half of the Sky Blue aside for another polymer clay project.
Once you’ve got these colors mixed up, let them rest for a day so that they're stiff when you work with them. - Now that your polymer clay colors are ready you need to chop them up into coarse chips. Aim to get some sharp angles on them. Remember to only use half of the Sky Blue.
- Also chop up some translucent polymer clay in the same way. I prefer to use Premo for this, but Kato will do just as well.
- Roll out some translucent (I prefer to use Premo) on the thickest setting on your pasta machine and lay gold leaf over the top of the sheet. Then chop it into coarse pieces like the other colors.
- Mix all the pieces together. Be careful not to squish them as you mix. You want to keep the sharp edges on the chips.
- When you’re happy that all the colors are distributed evenly, add some more gold leaf. I like to add quite a bit.
- Now squish all the pieces together and grate on a fine grater. Please note that if you’re using a grater from your kitchen, don’t use it with food again. It must now be used with polymer clay only.
- Now that your entire block of clay has been grated, add some more gold leaf. I add a fair bit.
- Squish it together and grate again.
- Compact the gratings into a ball and mold into a cylinder. Make sure that it’s properly compacted and that there are no air bubbles.
If you have any questions, please leave a comment below.
You can like my Facebook page or join the Jessama Tutorials Polymer Clay Community on Facebook to stay up to date with more polymer clay tutorials like this one as they are released.
You may also like:


Become a Member

Join my Facebook Group

Find Me on Etsy

What's New?
-
Dry Clay Polymer Clay Crackle
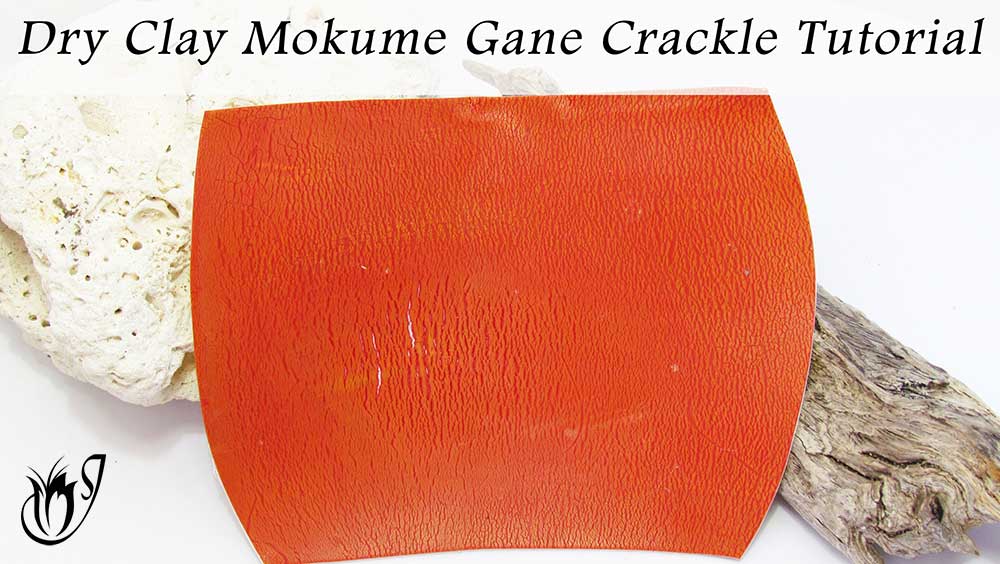 Today I'll be creating a mokume gane polymer clay crackle veneer using plain printing paper to dry out the clay. It's a soft, subtle effect that's easy to create and use across any project. Try differ…
 -
Heatgun Mokume Gane Polymer Clay Crackle
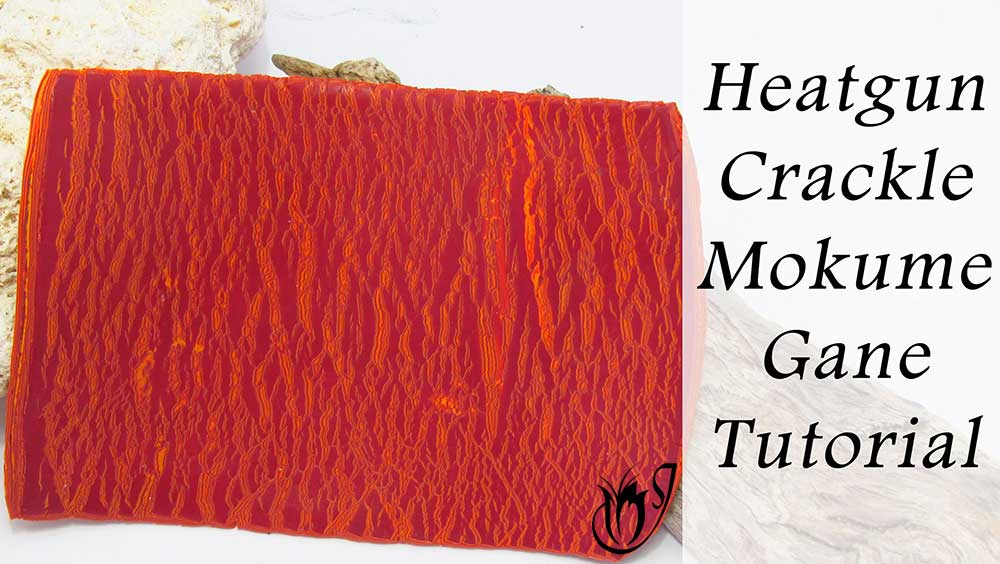 Today I'll be creating a mokume gane polymer clay crackle veneer using a heatgun. This is a fun, subtle technique that can be used in a wide range of projects. Try different colors and different thick…
 -
Swellegant Polymer Clay Crackle
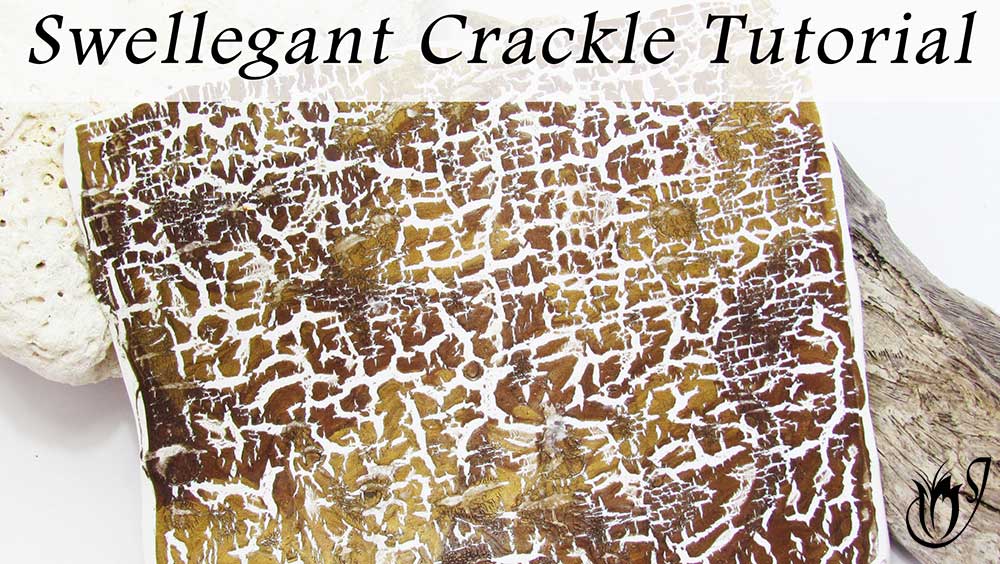 Today I'll be creating a polymer clay crackle veneer using just swellegant and polymer clay. It's easy as long as you follow the tips I include in the tutorial. You can also do the same thing if you p…
 -
Colorful Kroma Polymer Clay Crackle: Resin or Varnish
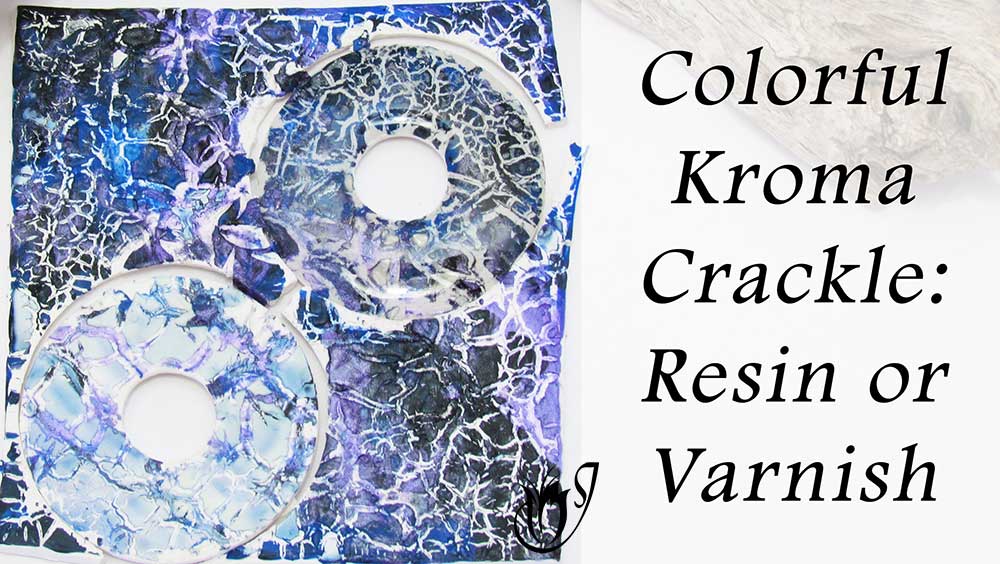 Today I'll be creating a polymer clay crackle veneer with kroma crackle and I'll go into details regarding how to achieve color and how varnish and resin will affect the finished result. The tests are…
 -
99% Alcohol Cane Polymer Clay Crackle
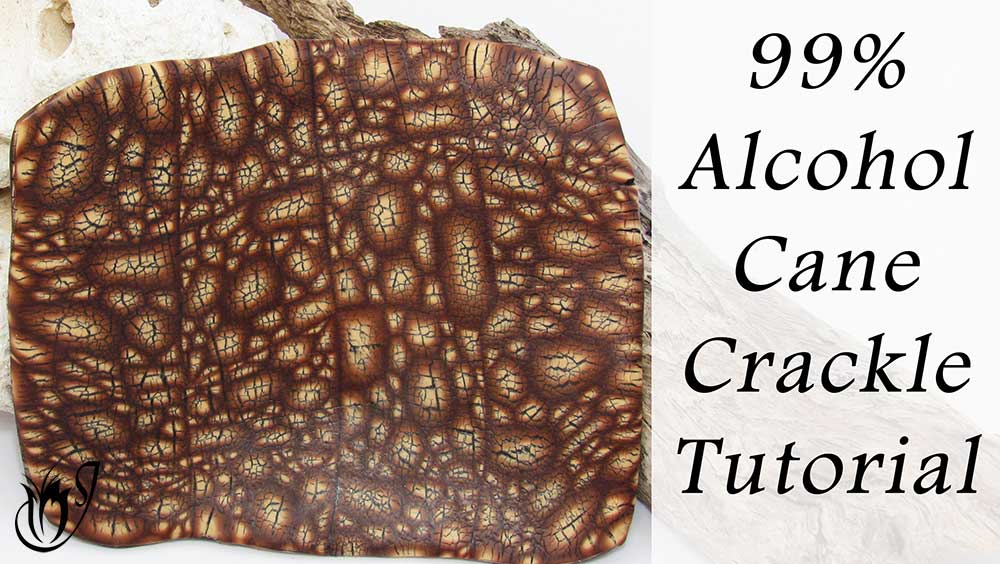 Today I'll be creating a polymer clay crackle veneer using a cheat crackle cane we made in day 15. Keep in mind you can use any cane for this technique ranging from the simplest bulls eye to a complex…
 -
Mokume Gane Polymer Clay Crackle
 Today I'll be creating another cheat polymer clay crackle; this time a metal leaf mokume gane. This is a fun technique and although I use a crackle texture in the video, you can use any texture you wa…
 -
Antiqued Heatgun Polymer Clay Crackle
 Today I'll be using a heatgun on some gold polymer clay to create a beautiful, rustic polymer clay crackle. We'll then mess around with some paint to antique the crevasse and finally we'll give it a b…
|
|
|
|
Facebook Group
Latest Posts
Tutorial Suggestions
QUESTIONS?
About Us
Contact Us
FAQ
LEGAL STUFF
Privacy Policy
Disclaimer
Disclosure


Copyright © 2018 All rights reserved
Copyright © 2018 All rights reserved
Please leave your comments below: