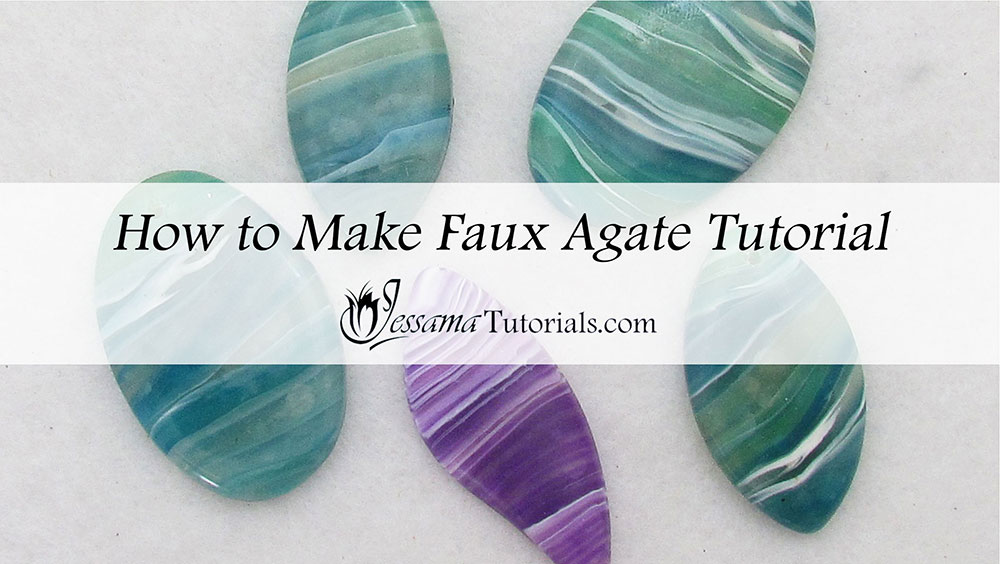
Faux Agate Polymer Clay Pendant Tutorial
Create a Faux Agate pendant in a lilac color scheme using a simple polymer clay technique that produces beautiful results. This technique can be adapted to imitate many types of Agate, so mess around with it and have fun.
I showed this technique a little while back in a faux agate
dagger tutorial, but a few of you wanted to see the flat version that I showed in the intro
before the video, so here it is.
This one’s going to be a little different from the last one as I’ll
be showing you how to make the lilac version rather than the blue and green
one I used for the daggers.
You will need the following supplies:
- Translucent polymer clay (I’m using Premo)
- White polymer clay (I’m using Premo)
- Alcohol inks (I’m using Adirondack alcohol ink Amethyst)
- A tissue blade
- An acrylic roller
- A plastic bag
- A cookie cutter
- A pasta machine
- An oven
- Wet/dry sandpaper or polishing cloths
-
Renaissance wax
Steps To Making A Faux Agate Polymer Clay Pendant
- Roll out a sheet of translucent polymer clay on the thickest setting on your pasta machine
- Drip a few drops of your alcohol ink onto the clay. 3 or 4 drops will do.
- Smooth the alcohol ink across the sheet, using your fingers or a brush, and let dry for about five or ten minutes.
- Now mix the alcohol ink into the translucent clay by hand (Don't use your pasta machine as the ink will stain it). Mix until you have a deep purple color.
- Roll this into a ball.
- Next you need a ball of conditioned translucent and a ball of conditioned white.
- Roll all three balls into narrow logs.
-
Now to start assembling. Take a small piece of white and stick it onto your tile. Take a small ball of lilac and place it next to the white. Now a ball of lilac above the white and then a ball of white next to the second lilac and above the first lilac. You should have four balls in a rough square shape. Repeat again with white on top of the lilac and lilac an top of the white. Carry on doing this until you think you have enough polymer clay for the pendant you want to make.
What I like to do is start with white and the lilac and as I get to the middle of the stack I’ll start to replace some of the white with translucent and as I reach the end I’ll weed out the white. This results in the white and the lilac at the bottom slowly fading to translucent. I find this gives the best effect. - Square your stack up and squish it up. Roll it to form a log.
- Now start twisting, always in the same direction. Carry on until it looks like enough. You may have to stop and compress your log and begin twisting again a few times. The more you twist, the more lines you will get. Don't go too far or you will end up with a blend without much detail.
- You should now have a long, thin snake. Compress this to form a shorter log, warping the layers as you go to create the agate pattern.
- Round it off again by rolling on your work surface, and condense into a short cylinder.
- Streak the edges of your cylinder all in one direction by dragging a piercing pin across the surface. This will cause the frills in your agate. (See the video for more information).
- Roll on your work surface again to smooth out the surface.
- Flatten your log using your fingertips, then roll it in both directions with your acrylic roller.
- Place a plastic bag over your clay and then cut out your pendant using your cutter. The plastic will create a dome.
- Remove the plastic and recut.
- Use your fingertips and the edges of your blade to smooth out the edges and burnish the top to remove fingerprints.
- It’s now ready to bake for about 40 minutes at the brand's recommended temperature. Bake on a piece of paper to avoid shiny spots.
- Once baked and cooled, give the pendant a good sand and buff. Don't forget the back.
- Finish off with a light layer of Renaissance Wax. Buff again.
Suggested links
If I have missed something, or you still have questions, please leave a comment below.
You can like my Facebook page or join the Jessama Tutorials Polymer Clay Community on Facebook to stay up to date with more polymer clay tutorials like this one as they are released.


Please leave your comments below: