Polymer Clay Skinner Blend Plug Tutorial
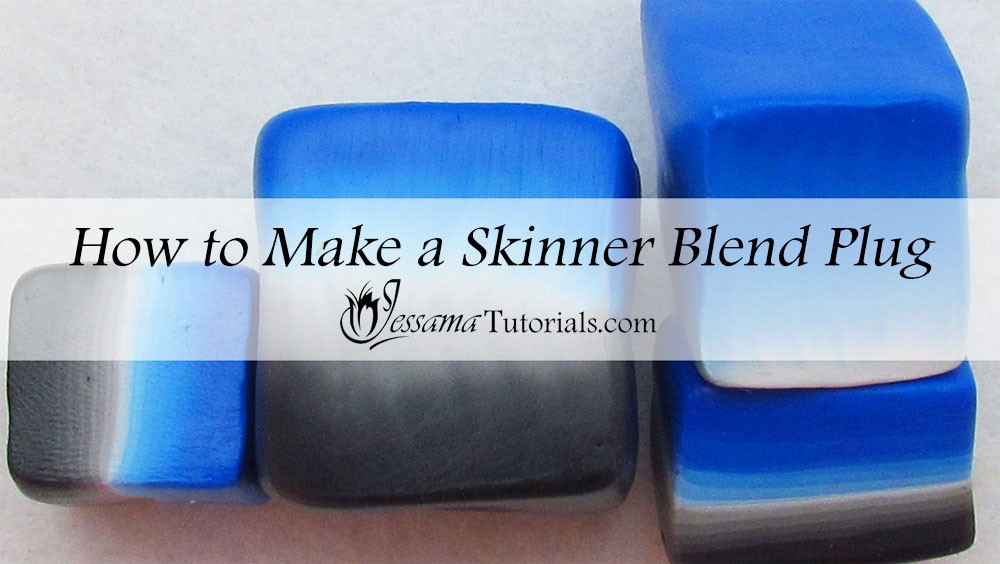
In this polymer clay Skinner Blend tutorial I'll show you a basic caning technique where you turn a Skinner Blend into a cane called a Skinner Blend Plug.
I’ll show you two
ways to do this; the traditional fan-fold way and using the compression technique which is the way I prefer to do it. This cane is
used as a component in many complex canes such as flowers, leaves and others. It can
also be used in techniques like Mokume Gane.
In order to complete this tutorial, you will need to know how to make a Skinner Blend. You can find a link to a tutorial in the suggested links box below the video.
You will need the following supplies:
- A three part Skinner Blend (You can also use a 2-part blend)
- A pasta machine
- An acrylic roller
- A tissue blade
Steps To Making A Polymer Clay Skinner Blend Plug
Method One - Fan-folding:
-
To start you’ll need a polymer clay Skinner Blend. Any type will do. I'm using a three part blend.
If you don't know how to make a Skinner Blend see my two part, and three part Skinner Blend tutorials.
- Fold your Skinner Blend sheet in half, so that it's a narrow strip.
- Lengthen the Skinner Blend so that it’s as long as you can get it from one color to the other color. It needs to be lengthened the same way the blend is running, so that you end up with a long sheet with one color at one end and gradually graduating into the next color at the other end.
- Start at the thickest setting on your pasta machine and work your way down to about the third thinnest setting.
- Now start concertina folding from one end of the Skinner Blend to the other, the same way you would a fan.
- Continue folding until you reach the end of the sheet. If the edges bow out a bit as you go, just squish them back in.
- Press the cane together to eliminate air bubbles.
- Roll over with your roller to tidy it up.
- Cut the Skinner Blend Plug in half to check for air bubbles and compress again if necessary.
My favorite method is shorter and easier to do. For this one you won’t lengthen the Skinner Blend. Instead you want the blend as short as possible.
- Fold your sheet over itself to form a rough log.
- Roll it on your work surface to form a snake.
- Start from one end of the blend and slowly start butting it up against itself towards the other side of the blend. The clay will start condensing up into the shape of a cane.
- Slit any air bubbles you notice with your knife as you go. Don’t go too fast or the clay might fold up on itself. You don’t want folds. Be patient and it will end up as a cane.
- Roll it back into a log shape every now and again as you go.
- Square up your log shape cane into a rectangle.
- Roll over with your roller to tidy it up.
- Cut the Skinner Blend Plug in half to check for air bubbles and compress again if necessary.
See the video tutorial for some examples of Skinner Blend Plug canes, as well as some of the other polymer clay canes it can be used for.
suggested links
If you need more information on reducing your canes, take a look at my reducing polymer clay canes tutorial, where I show how to reduce round, square, triangular and hexagonal canes correctly.
If I have missed something, or you still have questions, please leave a comment below.
You can like my Facebook page or join the Jessama Tutorials Polymer Clay Community on Facebook to stay up to date with more polymer clay tutorials like this one as they are released.





Please leave your comments below: