Natasha Beads Polymer Clay Tutorial
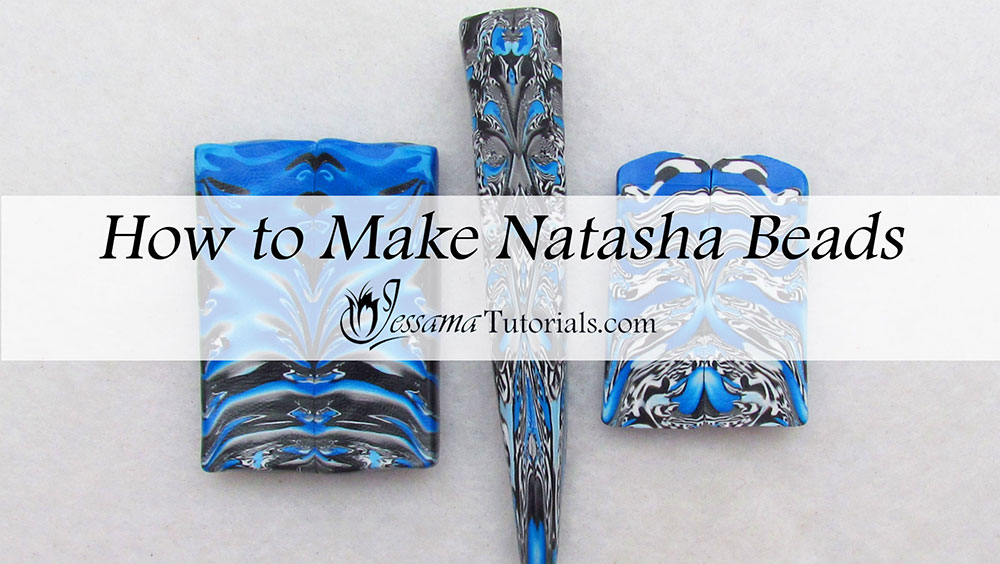
The Natasha bead technique is quick, easy and fun, and a great way to turn your leftover polymer clay into something unexpectedly beautiful. In this tutorial, I'll show you how easy it is to do.
This technique works best with leftover cane ends, but
can be used with just about any polymer clay scrap. You can create endless kaleidoscope type patterns, and no two beads ever come out looking exactly the same. It's fascinating to go through the process and see what you come out with at the end. Give it a try. I’m sure you’ll love it.
You will need the following supplies:
- Leftover polymer clay
- A tissue blade
- An acrylic roller
- A Cutter of your choice
To create these polymer clay beads you’ll need a bunch of leftover polymer clay. I’ve found that cane ends work the best, but any scrap will do.
Steps To Making A Natasha Polymer Clay Bead
- Ball up your leftovers and roll them into a compact cylinder. Make sure there aren’t any trapped air bubbles.
- Start to twist the tube.
- Twist until it feels rigid in your hands.
- Stop at this point and roll the polymer clay against your work surface. This will loosen it up again. Then proceed to twist some more.
- Carry on twisting until you are happy with it. The more you twist the more mixed up the clay with become. Lots of twists will result in a busier pattern, while less twists will cause a blockier pattern.
- Once you're happy, you’ll need to shorten the snake. Do this by squishing both ends of the roll. This will shorten it. Don’t worry if there’s some distortion. You want that.
- Now that it’s short you have to square it up like you would a square cane. To do this, roll along the top of the snake with your acrylic roller to flatten one side. Turn the roll a quarter turn and flatten that side. Repeat for the last two sides.
- Now you need to convert the square into a rectangle. You do this by rolling along the top of the square until the square squishes into more of a rectangular shape. The rectangle should be around 1/4" thick. The width of the top will depend on the size of the square you started out with. Turn the rectangular cane and roll each side repeatedly until you have nice, sharp edges.
- Cut the piece in half lengthwise through the 1/4" side with your tissue blade. You’ll find that your two pieces have the same image.
- Lay the two pieces flat and line them up to form a mirror image.
- Gently push the pieces together. Roll once or twice with your acrylic roller to level the clay out. Be careful to avoid distorting the pattern.
- You should end up with a polymer clay sheet around 1/8" thick. Cut a Natasha bead using your choice of cutter.
I also show how to make a four sided Natasha polymer clay bead in the video.
Suggested links
If I have missed something, or you still have questions, please leave a comment below.
You can like my Facebook page or join the Jessama Tutorials Polymer Clay Community on Facebook to stay up to date with more polymer clay tutorials like this one as they are released.


Please leave your comments below: