Controlled Polymer Clay Marble Technique (Bonus Veneer)
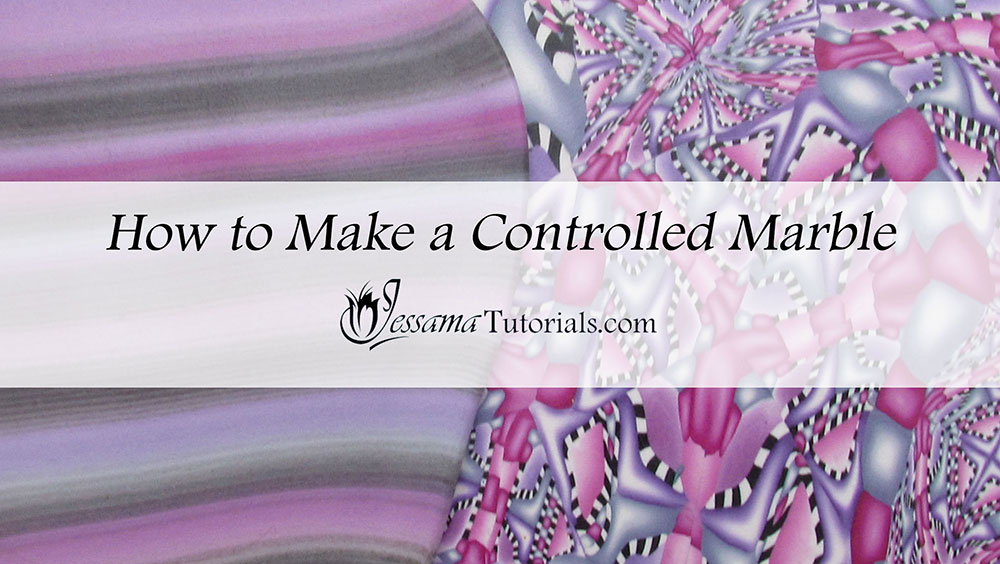
Make a polymer clay marble and a pretty veneer from the leftovers of a Kaleidoscope cane. The marble, veneer and cane all end up matching one another, so you can use them together in one cohesive polymer clay design.
This is a fun and easy polymer clay technique that will work with many leftover cane ends. It's a wonderful way to use up all those bits and pieces that would otherwise end up going to waste.
In this tutorial, I'll be using the leftovers from my Square Kaleidoscope Tutorial. You can use others if you like, but if you want to use the same cane please see the tutorial linked in the box below the video before watching this one.
You will need the following supplies:
- Leftover kaleidoscope cane ends
- A tissue blade
- An acrylic roller
- A pasta machine
To create the marble and veneer you’ll need a bunch of leftover polymer clay cane ends. I'm using the cane ends from my Square Kaleidoscope Tutorial.
I have leftovers from the component canes, for example, the Skinner Blend Bullseyes and Stripe Canes, as well as the cane ends from the completed Kaleidoscope.
How To Make A Controlled Polymer Clay Marble (Plus Bonus Veneer)
- Take your selected component cane leftovers and compress each one into a log shape.
- Lay the logs alongside one another on your work surface.
- Squish the logs together using your fingers to get them to stick to each other.
- Roll over gently using your acrylic roller.
- Roll this sheet through the pasta machine on the thickest setting so that you are lengthening the logs.
- Fold in half in the direction you rolled the clay so that the stripes line up. Be careful to keep the colors in their lanes.
- Repeat until your stripes are blended. You can go as far as you like with the blend.
- Compact it periodically to prevent it from widening too much.
- For the veneer use the complex kaleidoscope cane ends with any leftover simple cane ends that you didn't use for the marble.
- Slice your cane ends into pieces and put them together in color groups.
- Arrange the slices into a pattern that you like to form a sheet.
- Roll over with your acrylic roller to flatten your polymer clay veneer. Roll in all directions to prevent distortion.
- Flip the sheet over and roll the other side.
Suggested links
If I have missed something, or you still have questions, please leave a comment below.
You can like my Facebook page or join the Jessama Tutorials Polymer Clay Community on Facebook to stay up to date with more polymer clay tutorials like this one as they are released.


Please leave your comments below: