You are here: Home >> Polymer Clay Mokume Gane Tutorials > Translucent Silver Leaf Mokume Gane
Translucent Silver Leaf Mokume Gane Technique
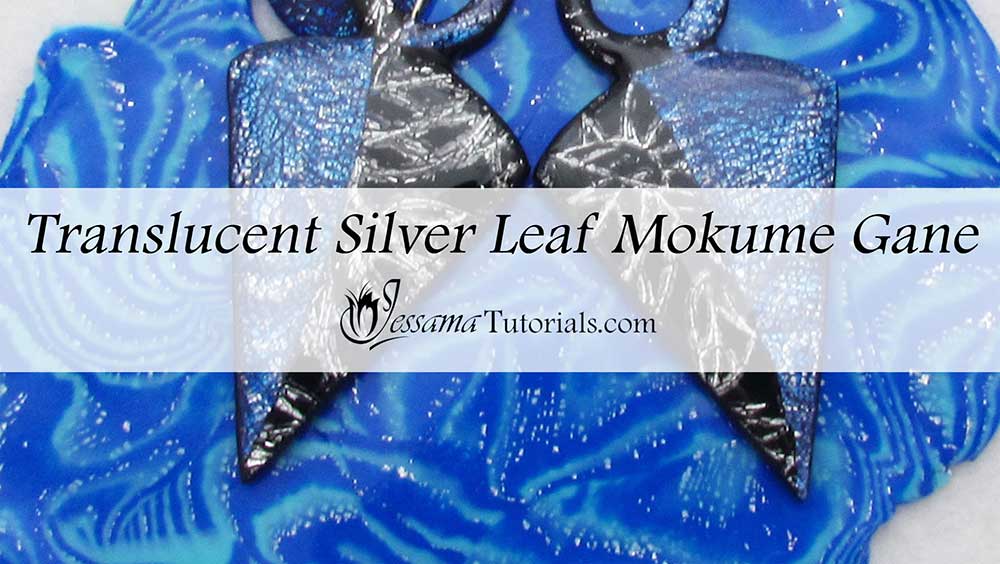
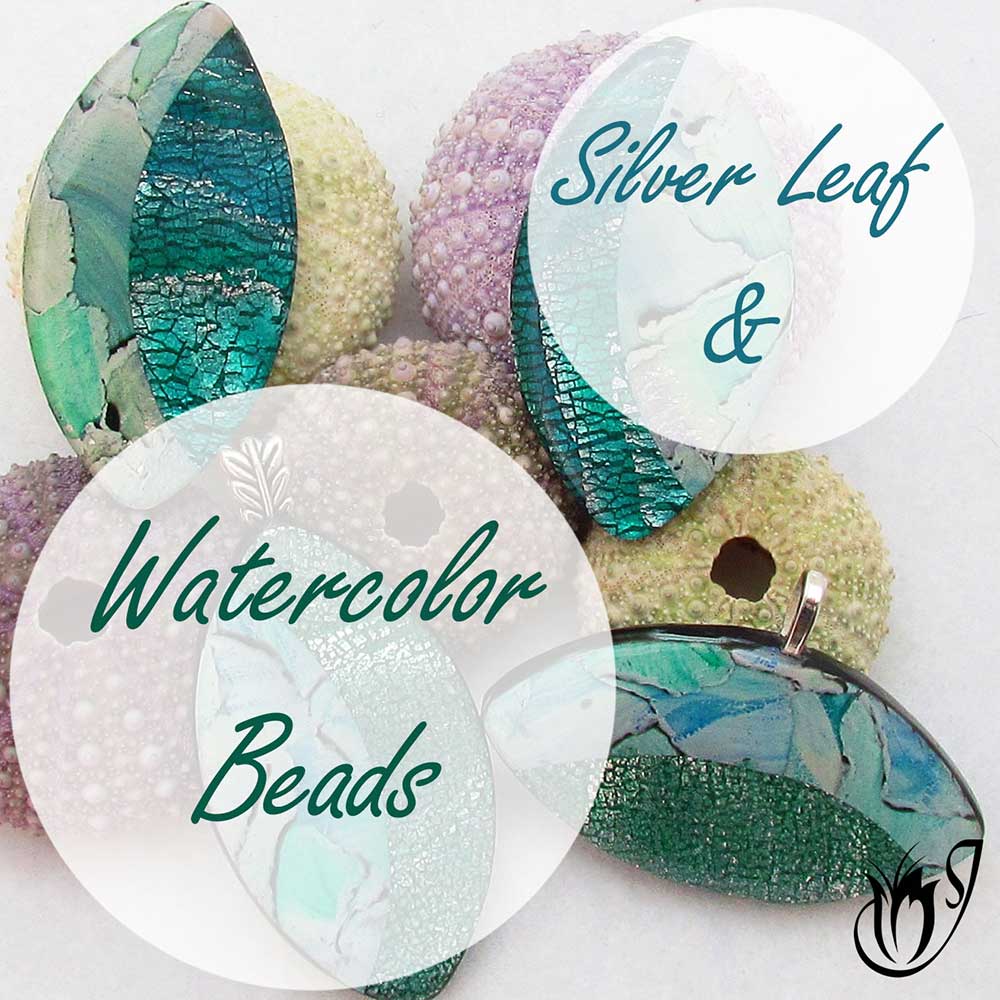
This is a fun Mokume Gane technique that incorporates silver leaf, alcohol inks and translucent clay
to create a cool effect.
It’s a really versatile technique that can be used in many different projects.
You can vary the effect by the amount that you crackle the silver leaf, how many layers you stack, as well as by using more or less alcohol ink colors.
I show some examples of what you can use this polymer clay technique for in the tutorial.
You will need the following supplies:
- Translucent polymer clay (I'm using Cernit)
- Alcohol Inks (I'm using Adirondack Indigo and Turquoise)
- Metal leaf (I'm using silver)
- A firm tissue blade
- A flexible tissue blade
- An acrylic roller
- A pasta machine
Translucent Silver Leaf Mokume Gane Technique Step by Step
- To start you’ll need at least two sheets of translucent polymer clay, rolled out on the thickest setting of your pasta machine. (I’m using Cernit today). You need one sheet per color of alcohol ink. I’m going to be using Indigo and Turquoise Adirondack alcohol ink. You can use more colors if you want.
- Drip each color onto its separate sheet of clay. Rub the alcohol ink over the surface and allow it to dry for about five to ten minutes.
- Once dry, mix the alcohol ink into the clay by hand, (you don’t want that stuff in your pasta machine) until you have a solid color. You should now have two colors of translucent clay.
- Roll these pieces of clay through on the thickest setting of your pasta machine a few times to make sure the inks are properly mixed in.
- Now take them down to your third thinnest setting. Remember that each time you roll through the pasta machine you want to be lengthening your sheet of clay.
- Stack the two sheets together and roll through the thickest setting again. Don’t worry about trimming up the edges or anything.
- Now it’s time to place the silver leaf on top of your clay. Any side of the sheet will work. Make sure you get a full coverage though.
- Lengthen the sheet again by rolling through the third thinnest setting.
- Once finished, cut in half and stack with the sliver leaf always facing up.
- Cut and stack again, repeating until you have enough layers. The more you stack, the more detailed your resulting pattern will be in the end.
- Squish together and down to about 1cm in thickness.
- Start gouging out pieces using your flexible tissue blade.
- Overlay the pieces and roll together to make a sheet.
- I’d advise cutting out a small piece from your sheet, and baking it for a half an hour, to see what the clay is going to look like after baking before using it in a project. There will be a significant color shift after baking.
In the video tutorial I show examples of polymer clay pendants I have made using this technique, so do check that out.
Suggested links
If I have missed something, or you still have questions, please leave a comment below.
You can like my Facebook page or join the Jessama Tutorials Polymer Clay Community on Facebook to stay up to date with more polymer clay tutorials like this one as they are released.
You may also like:
You are here: Home >> Polymer Clay Mokume Gane Tutorials > Translucent Silver Leaf Mokume Gane





Please leave your comments below: