Polymer Clay Jellyroll Mokume Gane
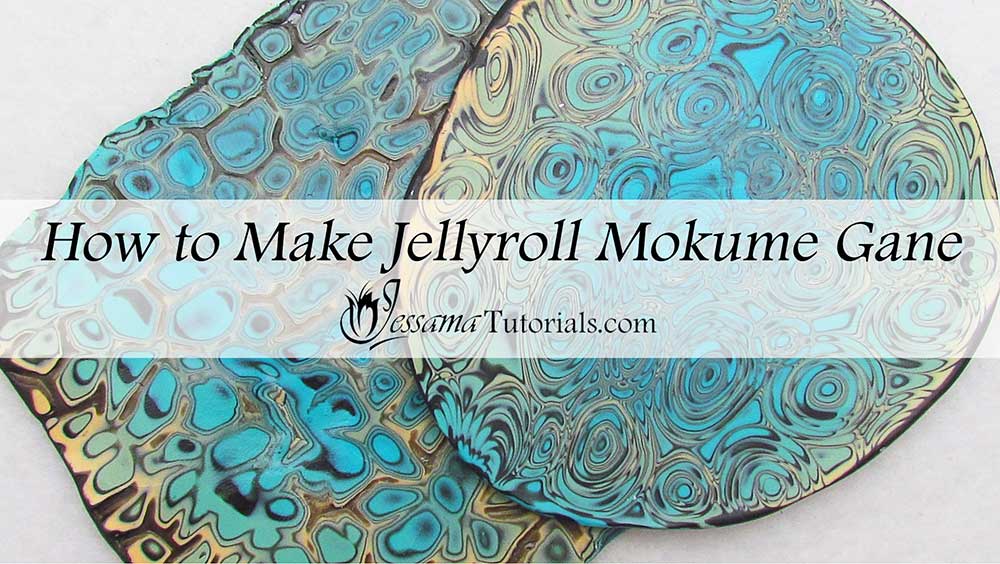
The Jellyroll Mokume Gane technique is an interesting twist that brings a whole new look to basic Mokume Gane. In this tutorial, instead of using the
usual sheet layering, we'll use a Jellyroll as the base.
As with any Mokume Gane
project, you can put any texture you wish into the clay. In this instance, I’ll be using
a texture stamp and some cookie cutters.
This polymer clay tutorial incorporates Skinner Blends and Jellyroll Canes. If you haven't
made these before, you'll need to watch the tutorials linked in
the box after the video before you watch this one.
You will need the following supplies:
- A skinner blend (I’m using premo Ecru and Turquoise)
- Black polymer clay (I'm using Premo)
- Graduated circle
cutters (or other shape of your choice)
- A texture stamp
- A pasta machine
- An acrylic roller
- A tissue blade
Steps To Making Polymer Clay Jellyroll Mokume Gane
-
To start you’ll need a Skinner Blend. I’m using a Premo Ecru to Turquoise blend. You can use whatever colors you prefer.
If you don't know how to make a Skinner Blend please see my Skinner Blend tutorial. - The skinner blend should be rolled through on the thickest setting of your pasta machine.
- You also need a sheet of black polymer clay. It needs to have been run though on the second thinnest setting on the pasta machine.
- Place the black on top of the Skinner Blend and smooth away any air bubbles. Trim away any leftover clay.
- Run the clay sheet though the pasta machine on the middle setting. You want to lengthen the Skinner Blend by running it through the pasta machine from one color to the next.
-
Roll up the sheet from one color to the next to make a Jellyroll cane. I’m rolling from the Turquoise to the Ecru.
If you don't know how to make a Jellyroll please see my Jellyroll Cane Tutorial. - Once you’ve rolled up the Jellyroll, tap on either end to shorten the cane.
- Chop the cane in half so that you have two pieces. We’re going to use each piece for a different technique.
- Flatten each piece of the Jellyroll cane out so that you flatten the spiral image inside. First use your fingers, then your acrylic roller. Finally run them through the thickest setting on the pasta machine. Set one of the sheets you’ve made to the side. We only need one for the moment.
- Now you’ll need some polymer clay cutters to make the Mokume Gane pattern. I’m using graduated circle cutters. You want to start with the largest one and press as many of those into the sheet as possible. Then go down to the next cutter size and press those into the center of the larger indents you made. Carry on doing this all the way down through the cutter sizes. You don’t have to get it looking perfect.
- Condense this polymer clay sheet down into a cane to push all the pieces back together. The way I do that is by butting my blade against the sides of the sheet until I form a bit of lip. Then I pick it up off of the work surface and start pinching it in on itself until a condensed cane is formed. It takes a while, so be patient. Go slowly and evenly.
- You now need to flatten this Mokume Gane cane out again to about your thickest pasta machine setting. Tap it down onto your work surface so that it sticks.
- Take your blade and start shaving pieces of clay from the sheet. Don’t go too deep. You just want to shave off the top. Once you’re happy with the look run it through the thickest setting on your pasta machine to flatten it out again.
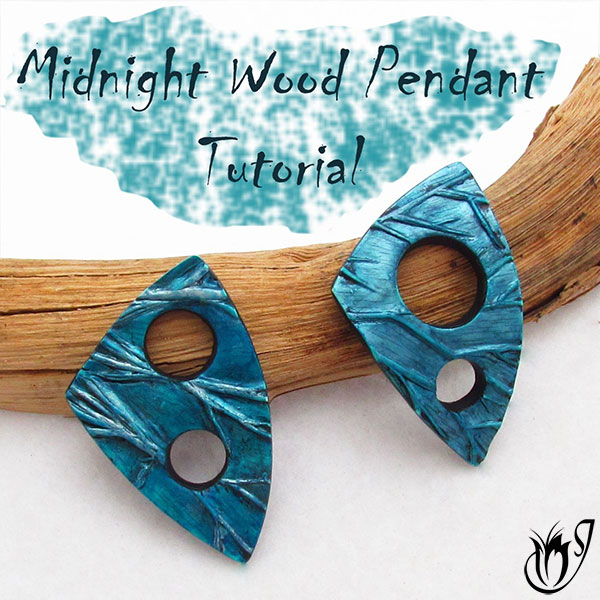
For the second Jellyroll Mokume Gane technique, we will be using a texture sheet instead of cutters.
- Place your chosen polymer clay texture sheet face up on your work surface. Spray it with water.
- Place your second Jellyroll sheet over the texture stamp, and spray water over it.
- Press the polymer clay into the stamp using your fingers until you have a nice indent. Work from one side of the stamp to the other to expel air bubbles.
- Slowly lift the clay from the stamp and dry up all the water on the polymer clay and work surface.
- Gently pat the clay, texture side up, onto your work surface so that it sticks.
- Shave away the raised areas with your tissue blade. You should be left with a wonderful Mokume Gane pattern.
Suggested links
If I have missed something, or you still have questions, please leave a comment below.
You can like my Facebook page or join the Jessama Tutorials Polymer Clay Community on Facebook to stay up to date with more polymer clay tutorials like this one as they are released.


Please leave your comments below: