Polymer Clay tools for beginners
Introduction
You need surprisingly little in the way of clay tools to get started with polymer clay, and your money is far better spent on the clay itself so that you have plenty to learn and experiment with. So find out what you need, what you don't, and why, in this article - my attempt to save beginner polymer clayers a ton of money.
If you are anything like me, the prospect of buying polymer clay tools and supplies turns you into the proverbial kid in a candy store. There are so many shiny, tempting bits and pieces to choose from, and at the time, they all seem absolutely necessary. Without all the latest gadgets, it seems that you would stand no chance whatsoever of producing even a half decent finished product. Like most polymer clayers, I have fallen into the trap of buying way too much
stuff - more than once, I might add. Much of it I still don't use, even all these years later. I wish this advice had been around when I first started out - lol.
Click here for a bullet point summary...
Setting up your work area
While it's nice to have a dedicated polymer clay working area, it certainly isn't necessary. With these few start up supplies you can pack and unpack your work space in minutes. The best place to set up is anywhere where you have good light, a non-carpeted floor (otherwise clay can get walked into the carpet) and a stable work surface. The kitchen was always my first stop.
Tools you will need:
- A ceramic tile. (Buy one from your hardware store. It doubles up as your work surface and your baking surface.)
- A plastic storage tote of some kind, preferably with a handle and a lid. (Pack all your polymer clay tools and supplies away in here when you are done for the day.)
- A largish pencil pot. (This is to hold all of your tools while you are working. I found that a small ceramic plant pot worked well.)
Preparing and working with your clay
This is the part where we all tend to go overboard, but after sitting down and thinking about it for a while, I realized that there are only a few tools that I couldn't do without.
Polymer clay Tools you will need:
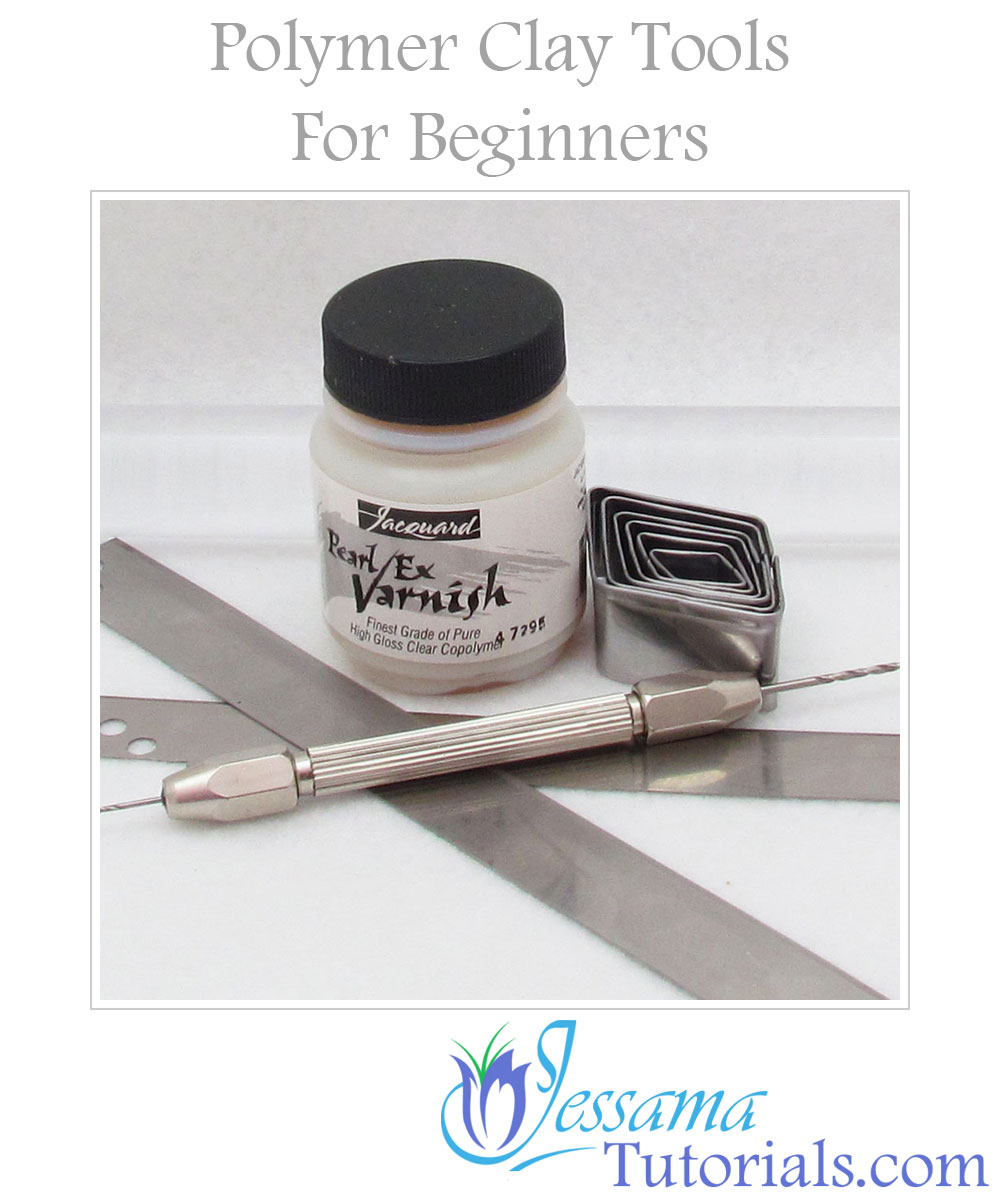
- A tissue blade set. (Most sets include at least one straight blade, one flexible blade and one ripple blade.)
- An Exacto/craft knife.
- An acrylic roller.
- A set of playing cards. (Use as a guide to get your clay rolled out evenly.)
- A beading awl or handheld pin drill for making holes.
- Plastic shape templates in a few basic shapes or a few basic cutter sets.
- A ruler.
optional clay Tools you may want to add:
- A pasta machine. (Although not strictly necessary, this is the one investment that I would recommend. It will save you countless hours in time and effort. I use a Jamie Oliver Pasta Machine form eBay. I got mine for about $30)
- A basic set of sculpting tools. (Not necessary, but not too expensive and definitely nice to have.)
Baking and finishing your polymer clay
This is the one area of polymer clay creation where you will need to make a small investment, which is unfortunately unavoidable. You will need some sort of an oven. Polymer clay must be baked. It cannot be air-dried, and it cannot be microwaved. You also cannot use your regular food oven, since polymer clay emits rather nasty fumes as it bakes.
Polymer clay Tools you will need:
- An oven. (I use a toaster oven that I bought from K-mart, our version of Walmart. It cost about $25. I've had it for six years and it's still going strong.)
- Wet/dry sandpaper. (Buy in sheets from your hardware store. You need 400, 600 and 1200 grits. 2000 is also nice to have.)
- A good quality artist's paint brush. (It's worth spending an extra dollar or two here, otherwise you end up with stray bristles sticking to your varnish.)
- A polymer clay sealer of some sort. (A small pot of Varathane is a good all round bet if you can source it. Otherwise a pot of Pearl-Ex varnish is a good starting point. Most polymer clay suppliers stock it. See my article on Sealing Polymer Clay for more options.)
Storing your polymer clay
Once your polymer clay blocks are opened they need to be stored in some sort of airtight container to prolong the shelf life of your clay. Since many plastics react with polymer clay, I have found ziploc bags to be the best solution.
(Test your bags first to make sure they are non-reactive. You do this by leaving a small piece of clay lying on one of the bags. Check after a week or so to see if the plastic beneath and surrounding the clay has gone cloudy. If it has, the plastic is reacting. If it hasn't then your bags should be safe for storage. I use the ziploc bags carried by FireMountainGems.com and I've never had a problem.)
Polymer clay Tools you will need:
- Ziploc bags.
in summary...
- A ceramic tile. (Around $1)
- A plastic storage tote of some kind. (Around $6)
- A largish pencil pot. (Around $3)
- A tissue blade set. (Around $7)
- An Exacto/craft knife. (Around $3)
- An acrylic roller. (Around $10)
- A set of playing cards. (Around $1)
- A beading awl or handheld pin drill for making holes. (Around $3)
- Plastic shape templates in a few basic shapes or basic cutters. (Around $3 per set)
- A ruler. (Around $1)
- An oven. (Around $25)
- Wet/dry sandpaper. (Around $5)
- A good quality artist's paint brush. (Around $2)
- A polymer clay sealer of some sort. (Around $10)
- Ziploc bags (Around $3)
Polymer clay tools needn't break the bank
So after doing a quick add up, it turns out that you can buy everything you need to get started with polymer clay for around USD90, plus another $25 or so if you want a pasta machine and another $10 or $20 for a few blocks of clay. If you take your total up to $150 you should have all your polymer clay tools, plus enough clay to last you for six months or so. When you think that you could blow that on one or two over-priced gadgets, getting started with polymer clay really doesn't need to be too expensive.
Just a quick word about the clay itself. Some polymer clay brands are more suitable than others for polymer clay art. Sculpey III in particular is not a good choice. It is cheap and readily available, but brittle and it breaks easily. I have heard so many stories of polymer clay beginners going out and buying buckets full of Sculpey III only to be frustrated when their projects don't come out the way they should. It can be very discouraging. If you are just getting started with polymer clay I recommend either Premo, or Fimo Professional, or Kato at a push. Have a look at my article: Which Is The Best Polymer Clay Brand? for a run down of the pros and cons of each of these clays and what they are best used for.
If there are any other must-have polymer clay tools that you think should be added to the list on this page, please let me know in the comments below. And as always, please do like and share with your friends if they are just starting out with polymer clay.


Please leave your comments below: