Polymer Clay Leaf Bead Project
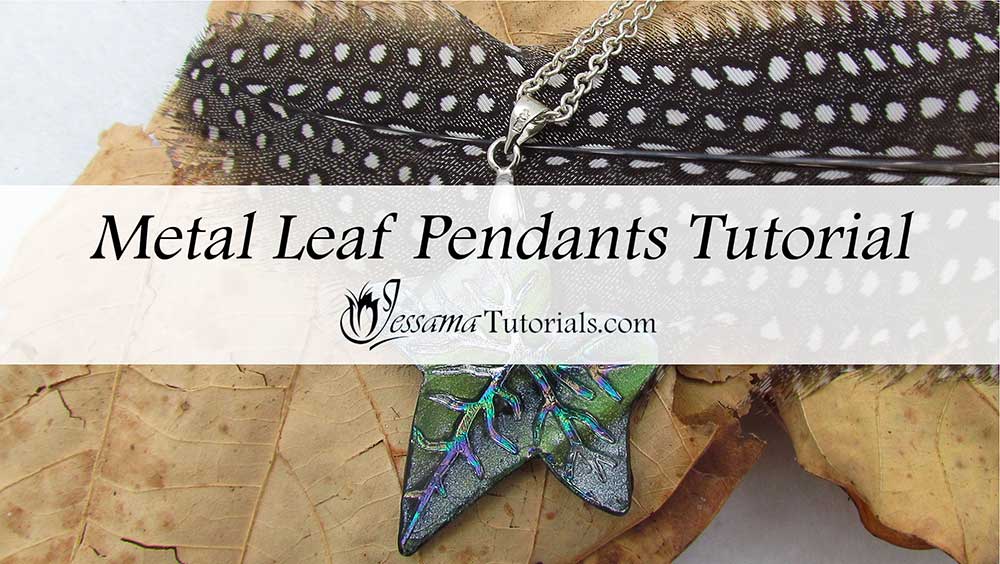
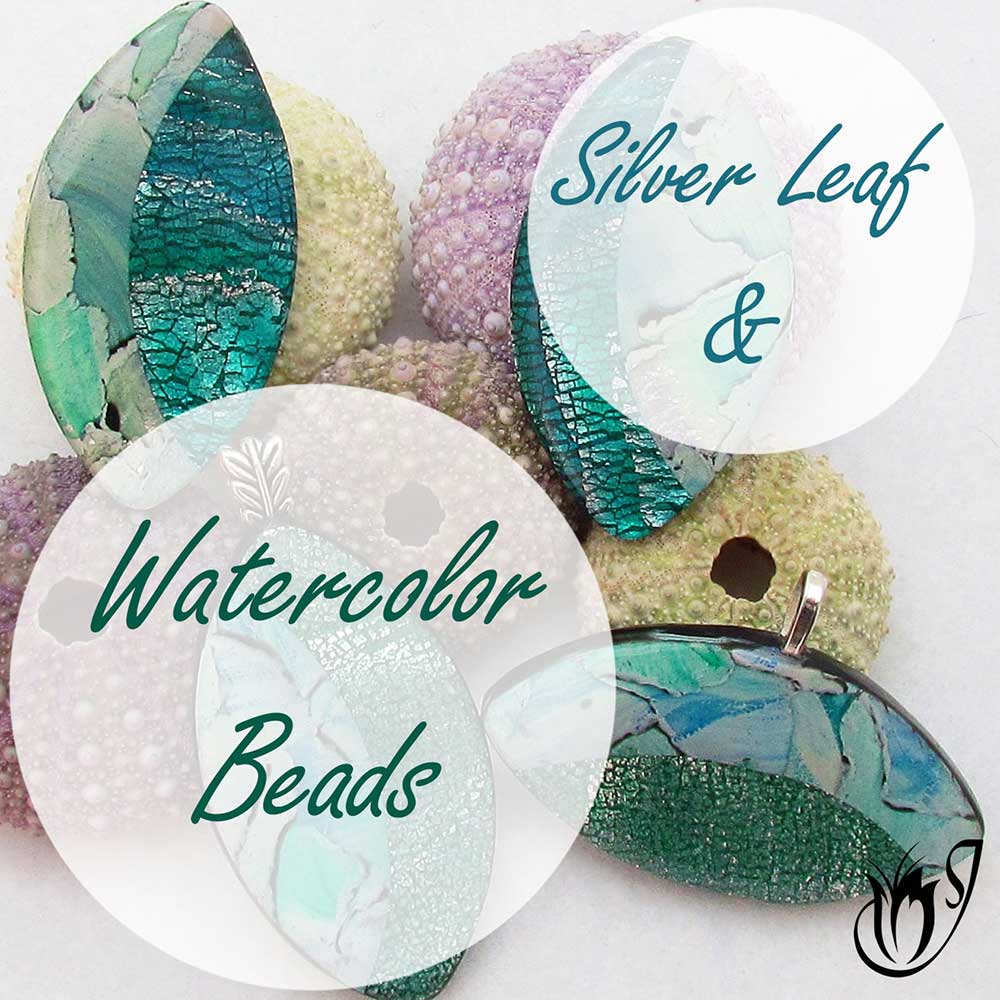
In this project I’ll show you how to create polymer clay leaf beads using foils and marbled clay. They’re fun to make, can be adapted to different designs, and made with many different materials. They can be
used on their own on a piece of chain, as shown, or can be integrated into a more
complex polymer clay jewelry design.
Today I’ll be using foils and marbled clay, but you could use
anything you wanted. With a coat of resin they are the perfect gift. What more could you ask for in a polymer clay project?
You will need the following supplies:
- A tissue blade
- A pasta machine
- An acrylic roller
- Some metal leaf and foils
- Black, Pearl White, Silver and Bright Green Pearl polymer clay (I’m using Premo)
- Alcohol ink (The colors need to match your chosen foils. I’m using Adirondack Turquoise ink)
- Embossing leaf cutters
- Sticky tape
- Black liquid clay
- An oven
- Wet/dry sand paper or polishing cloths
- Ice resin or other UV resin
- A hand drill
- Chain
- Pinch bails
- Jumprings
- Clasps
Polymer Clay Leaf Bead Project Step by Step
- First you need to prepare your polymer clay.
- Roll a small log of each of your four clay colors.
- Lay the four logs side by side.
- Roll the four pieces into one log.
- Twist, roll and condense the log. Repeat these steps until you get a nice marble.
- Roll your marbled log into a ball.
- Flatten the ball and run it through the pasta machine on the thickest setting.
- Fold it in half and run through again. Repeat a couple of times until you achieve a striped marble.
- Cut a piece from your sheet to roughly fit the size of your leaf cutter.
- Cover the clay with your chosen foil or leaf. Some foils will need to be burnished onto the clay by rubbing quickly to produce heat. (See the video for more information.)
- Cut and emboss your foil covered polymer clay using your embossing leaf cutter.
- Use sticky tape to gently remove the raised foil from your bead, leaving the embossed foiled veins in place.
- Bake your polymer clay bead for 30 minutes at the recommended temperature for your brand.
- Let your beads cool before handling them again.
- Brush black liquid clay along the sides of your beads.
- Bake again for another half an hour at the recommended temperature.
- Once cool, coat the back in black liquid clay and bake again for half an hour.
- Sand your beads to a high shine using wet/dry sandpaper or polishing papers.
- You could leave the beads like this, but I like to put Ice Resin on them. (I include instructions on how to do this in the video tutorial.)
- Once cured you can drill holes in the beads and attach bails. String the beads on chain and attach the clasp.
In the video tutorial I show quite a few variations of this technique using different marbles, foils and some alcohol inks, so please do take a look at that.
Suggested links
You can also find embossing cutters on eBay.
If you are struggling with the Ice Resin, you can find a full Tips and Techniques tutorial that walks you through the process on my Patreon community page or in my Etsy Shop.
If I have missed something, or you still have questions, please leave a comment below.
You can like my Facebook page or join the Jessama Tutorials Polymer Clay Community on Facebook to stay up to date with more polymer clay tutorials like this one as they are released.



Please leave your comments below: